DIY | Halloween Candles
In the October issue of Better Homes and Gardens, page 30 had some of the cutest Falloween trends to get my hands on. I fell in love (at first sight) with the black and white striped candles from mackenzie-childs.com and holders from areohome.com. They would go perfect in my little home!

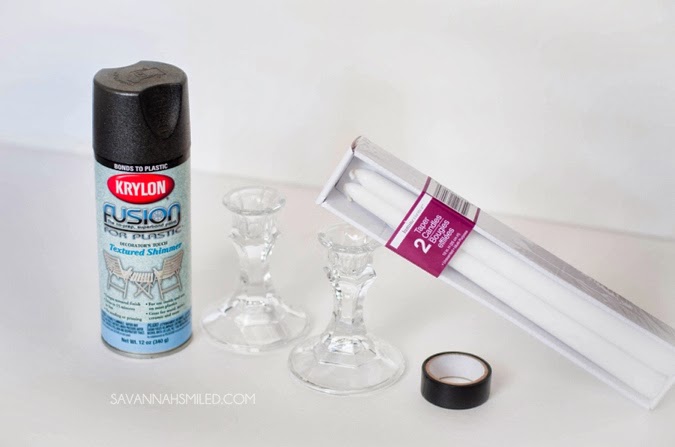
I'm not in the position to spend that much moolah on two candles and their holders, but if I did, I'd definitely go for it. To give myself a more suitable solution, I created a DIY version of the BHG picks. And get this folks, I only spent $3. Not per candle. Nope $3 total. Here were my supplies:
Dollar Tree candle holder (2 for $2) | Dollar Tree taper candles (2 for $1) | Electric tape (my craft drawer) | Black spray paint (my outdoor closet)
Give the candle holders a good spray-down of any spare black spray paint you may have hanging around your home. I let it dry once then sprayed another coat, just to make sure I didn't miss any areas.

While you're waiting on paint to dry (literally), cut strips of electric tape long enough to wrap around the size of your taper candles. Take those strips and wrap the tape around the candle. Be careful to keep it straight where the ends meet up evenly. I just eyeballed the spaces between stripes, no measuring over at my project table.
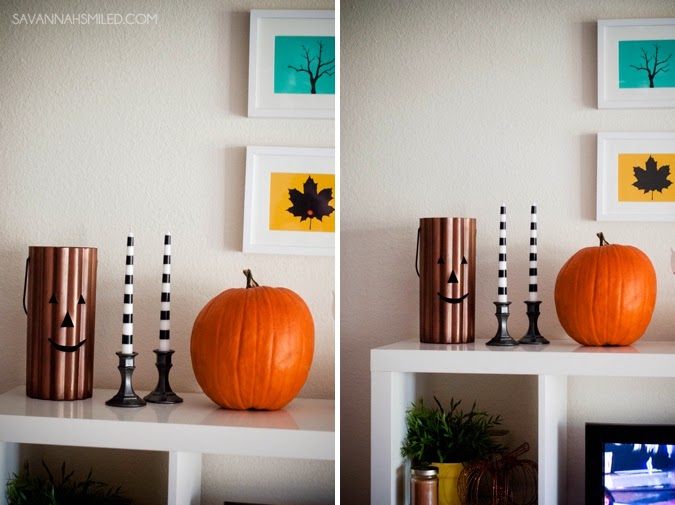
Don't they fit in perfectly with my Falloween decor above my TV?

Keeping the holders clear (or maybe adding a bold, bright color) are a few other ways to fit these pretty little candles into your Fall decor. Let me know in the comments below, shout me out on twitter or mention me on instagram if you make your own Halloween candles! I'd love to see them all.