Five Below Pumpkins
Although I've had pumpkins for a while now, there just hasn't been a whole lot of time to sit down and carve them out. October "has been busy" is a bit of an understatement. Anybody with me on that one? *all the praise hand emojis* If you're in desperate need of a prettied-up pumpkin this week (without all the time commitment), I have a few ideas for you. As long as you have a Five Below nearby, you're good to go!
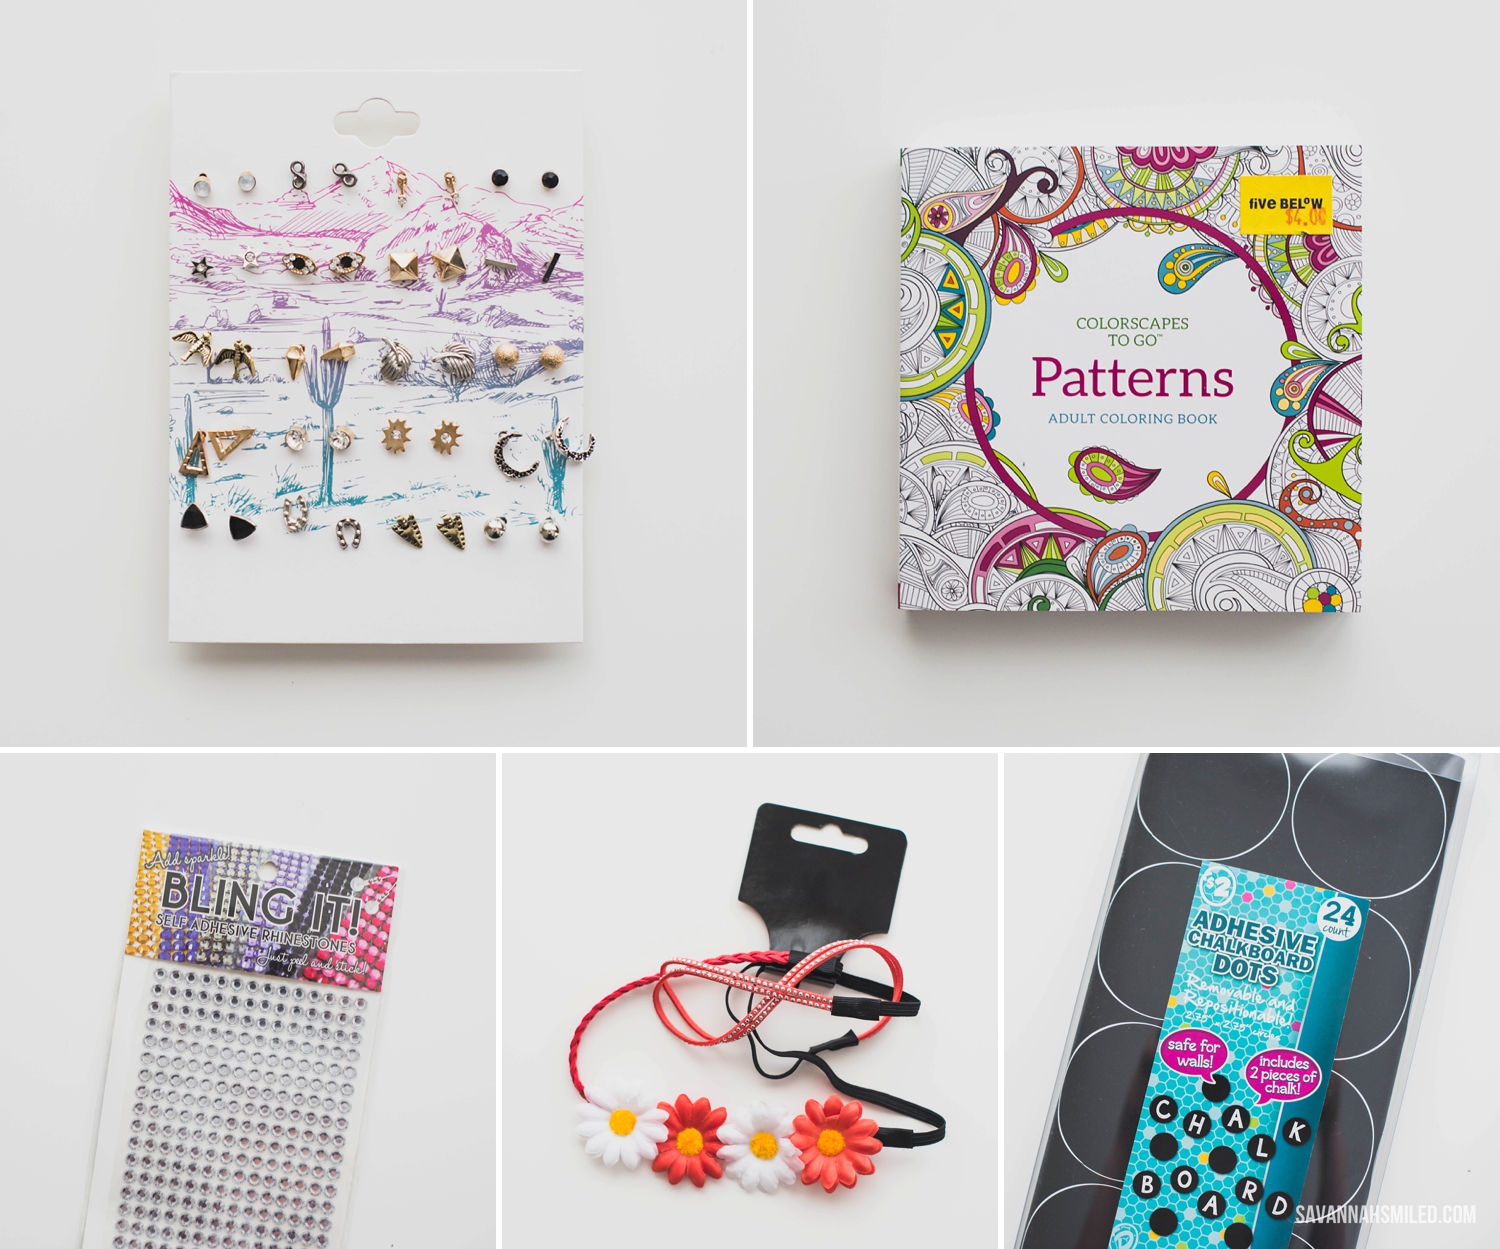
I skipped right over the Halloween supplies and just went around the aisles of Five Below, browsing all the everyday items that I could use on a pumpkin. I ended up with a set of desert festival-vibe earrings, a small adult coloring book, bling it strips, floral headbands and a pack of adhesive chalkboard dots. You call these pumpkin supplies? I say YES!
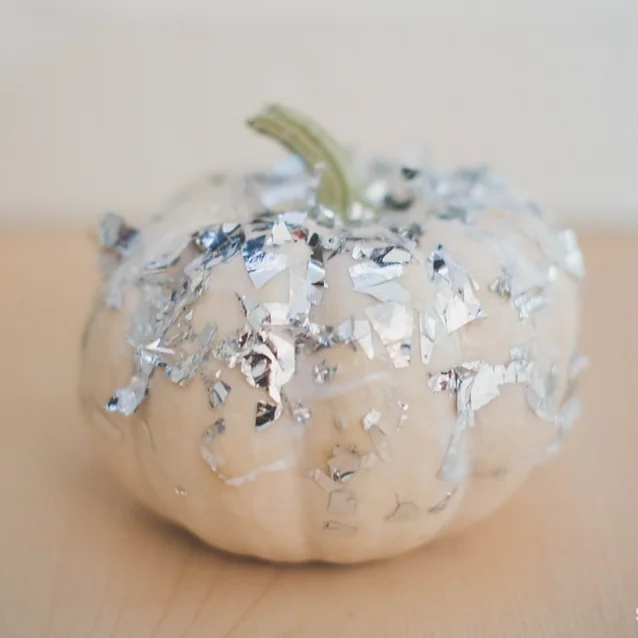
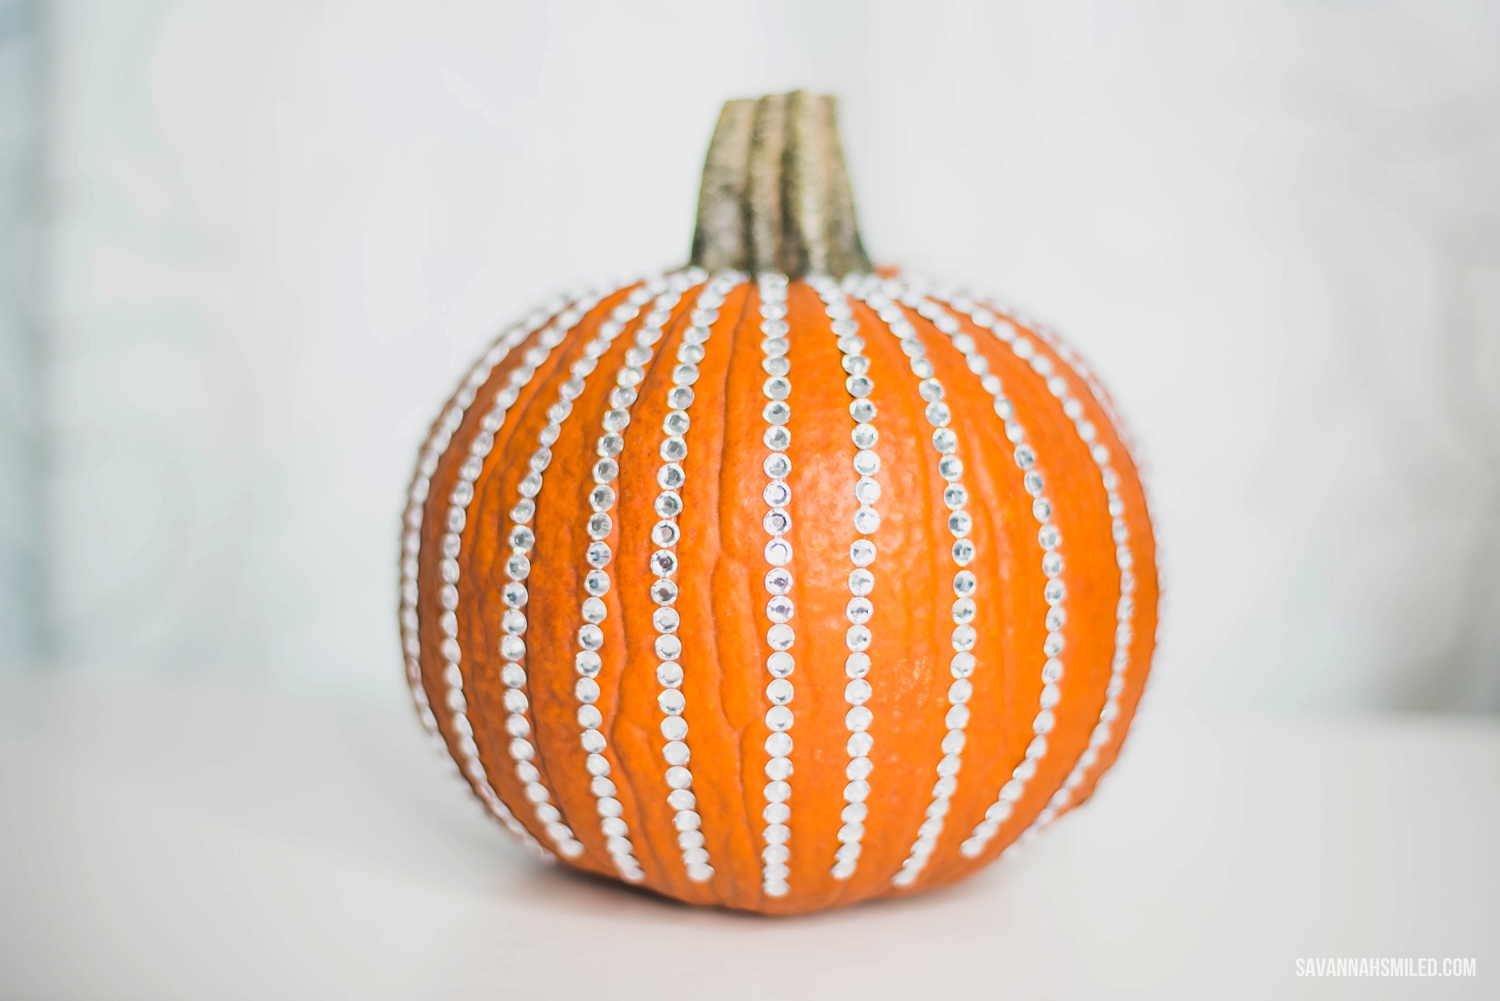
BLING IT STRIPS
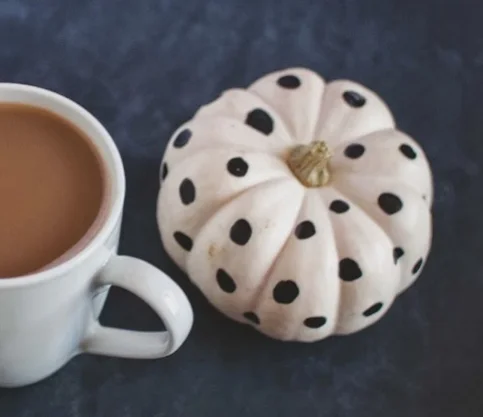
These strips are actually the entire inspiration behind this Five Below pumpkin project. Last year, I decorated some baby pumpkins with these great cell phone bling stickers and absolutely loved them. What looks like a ton of tiny crystal dots are actually strips that can easily be placed on a pumpkin in no-time. This year, I went with rows a silver bling all over.
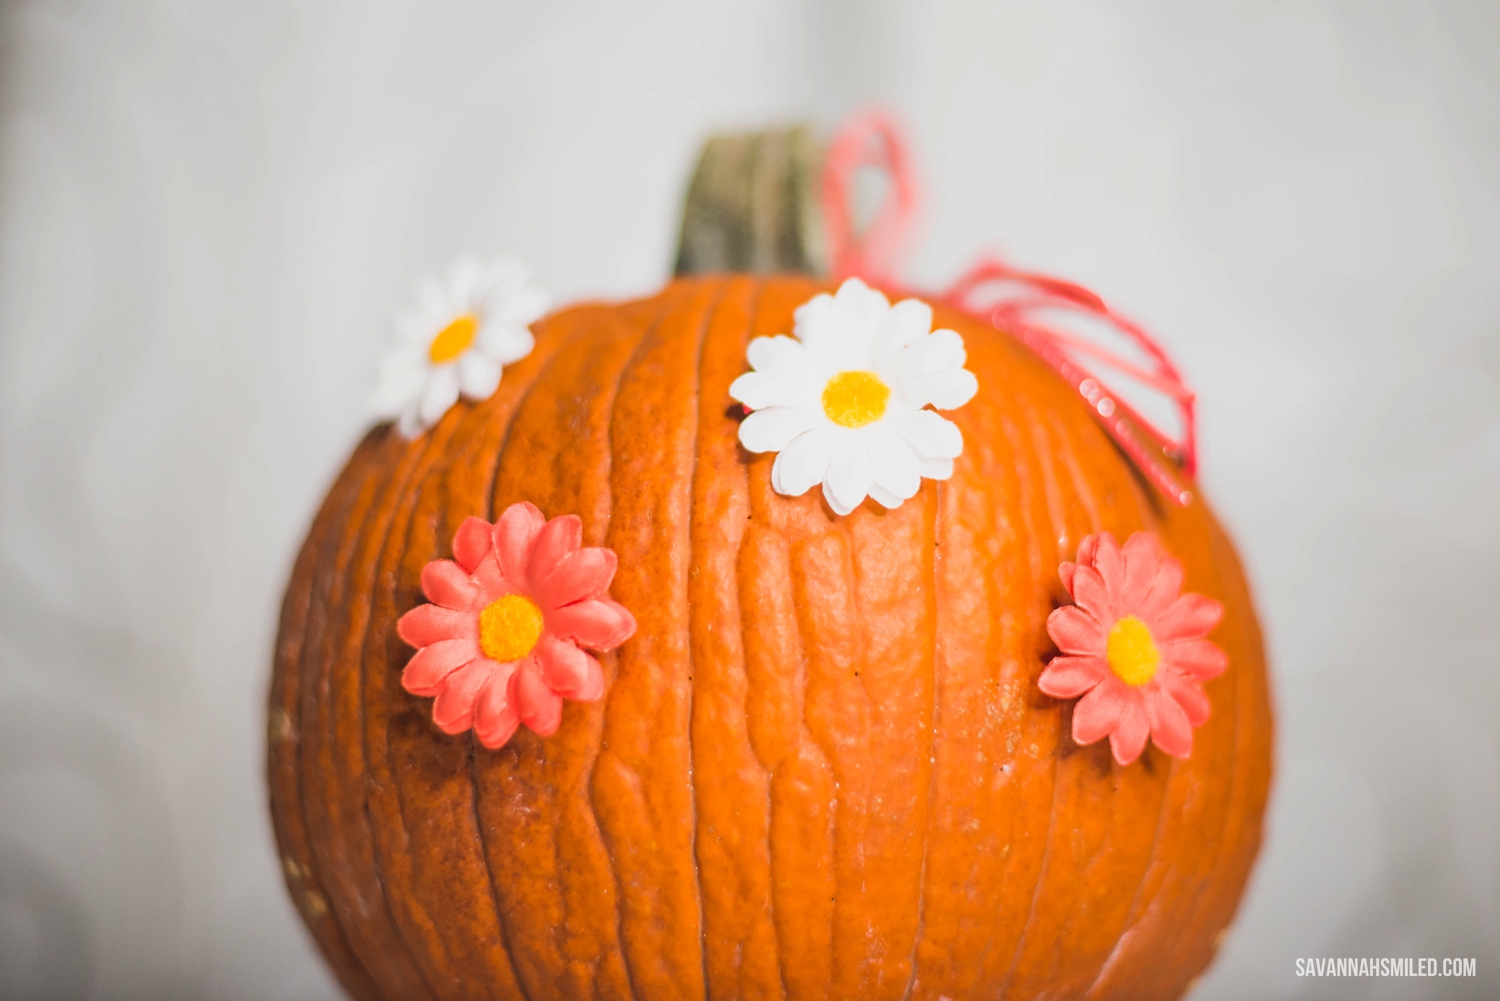
FLORAL HEADBAND
I brought out the scissors for this one and basically destroyed the poor headbands as they were meant to be used. For each flower, I tucked a small tack inside and poked it right into the pumpkin. The extra blingy strings were tried into a bow together and looped around the stem.
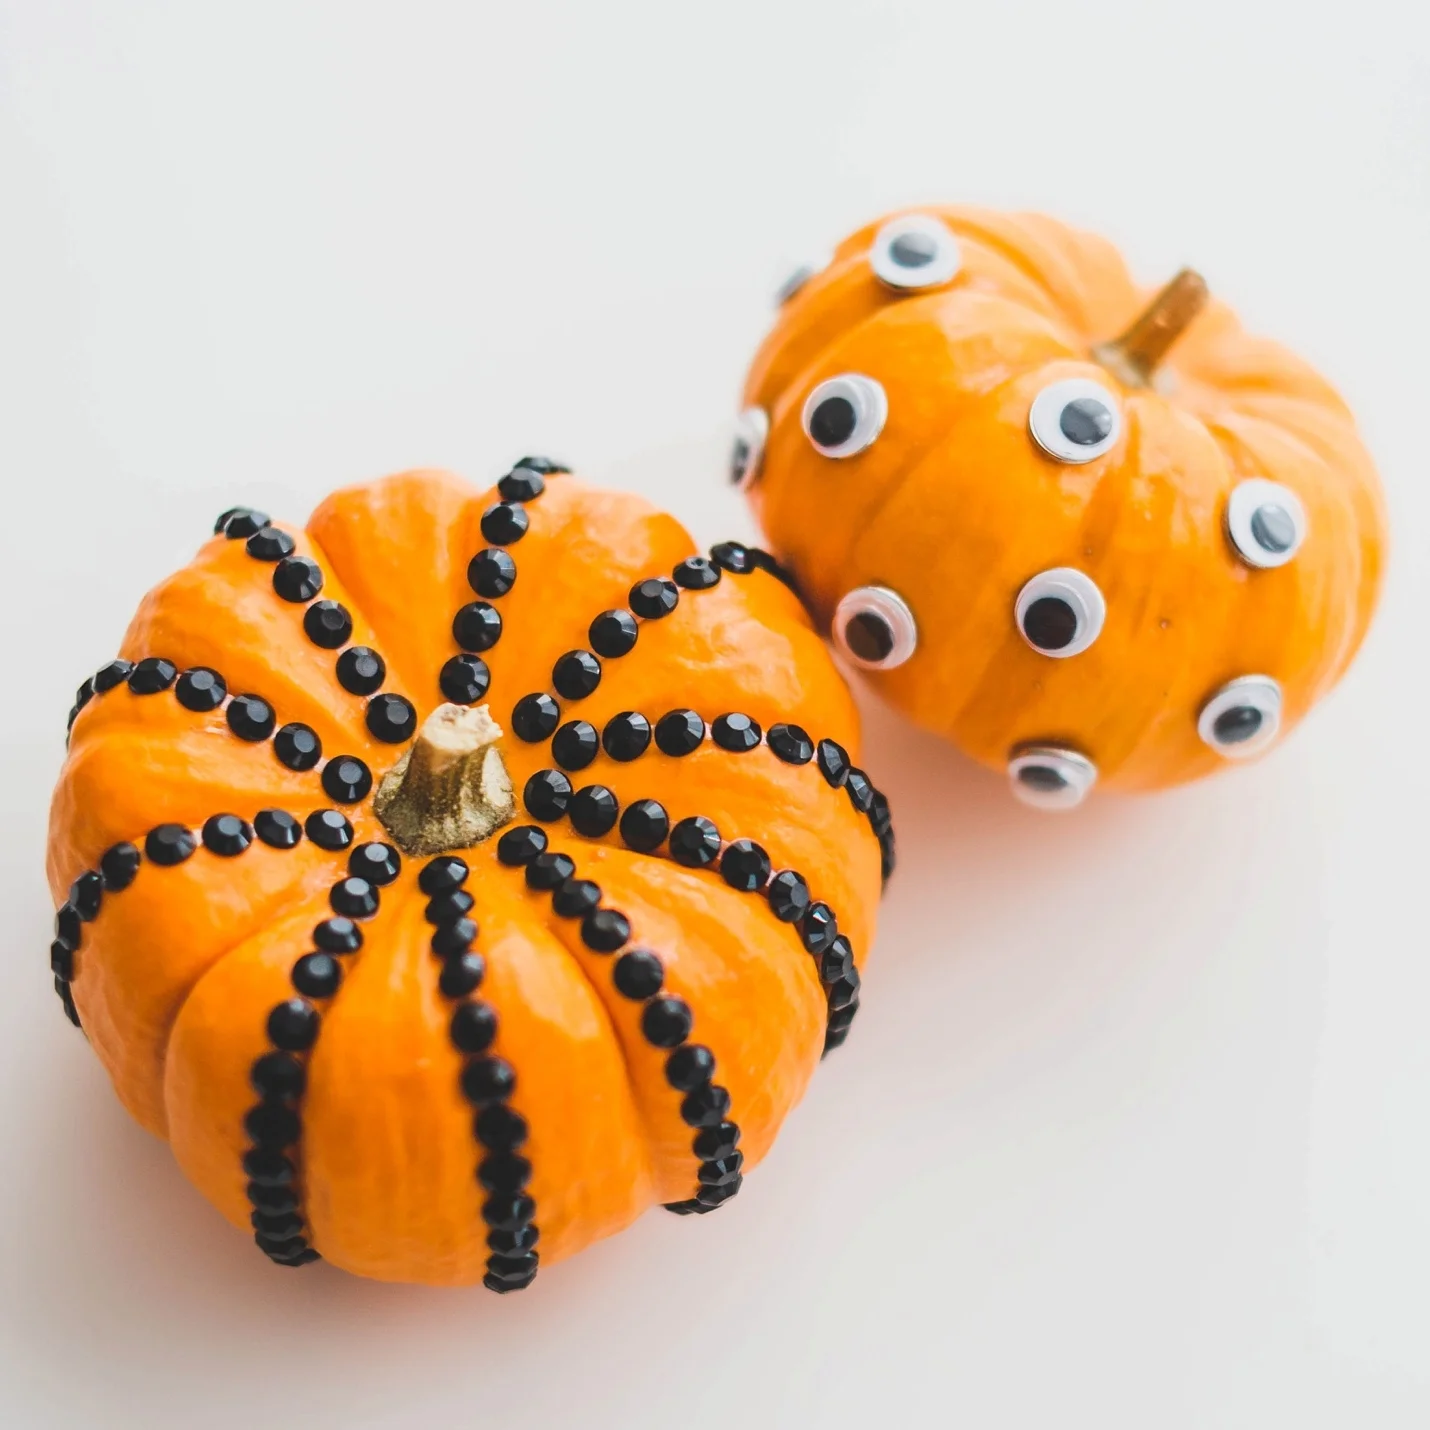
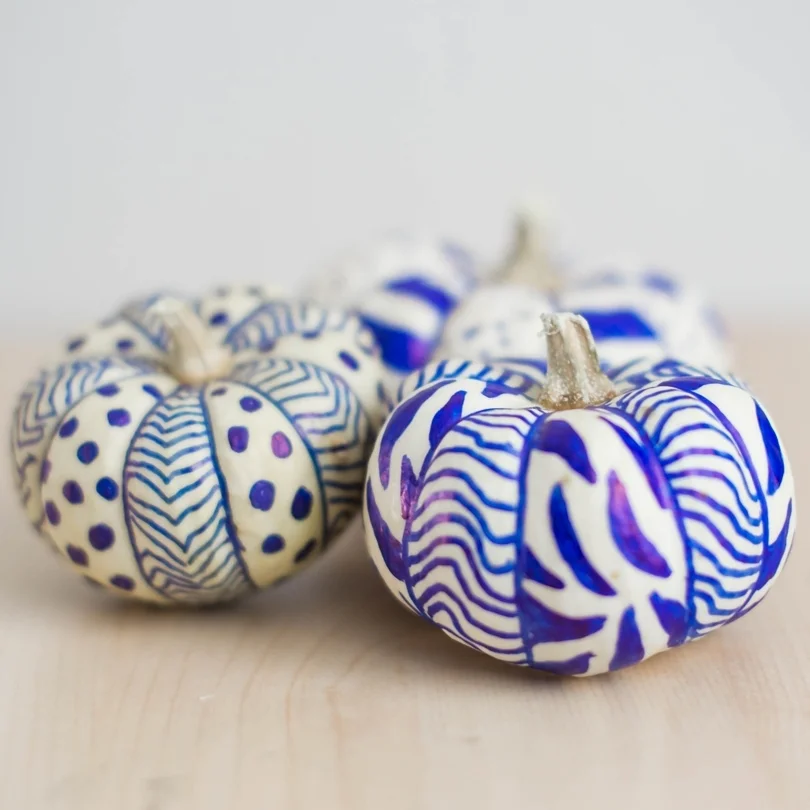
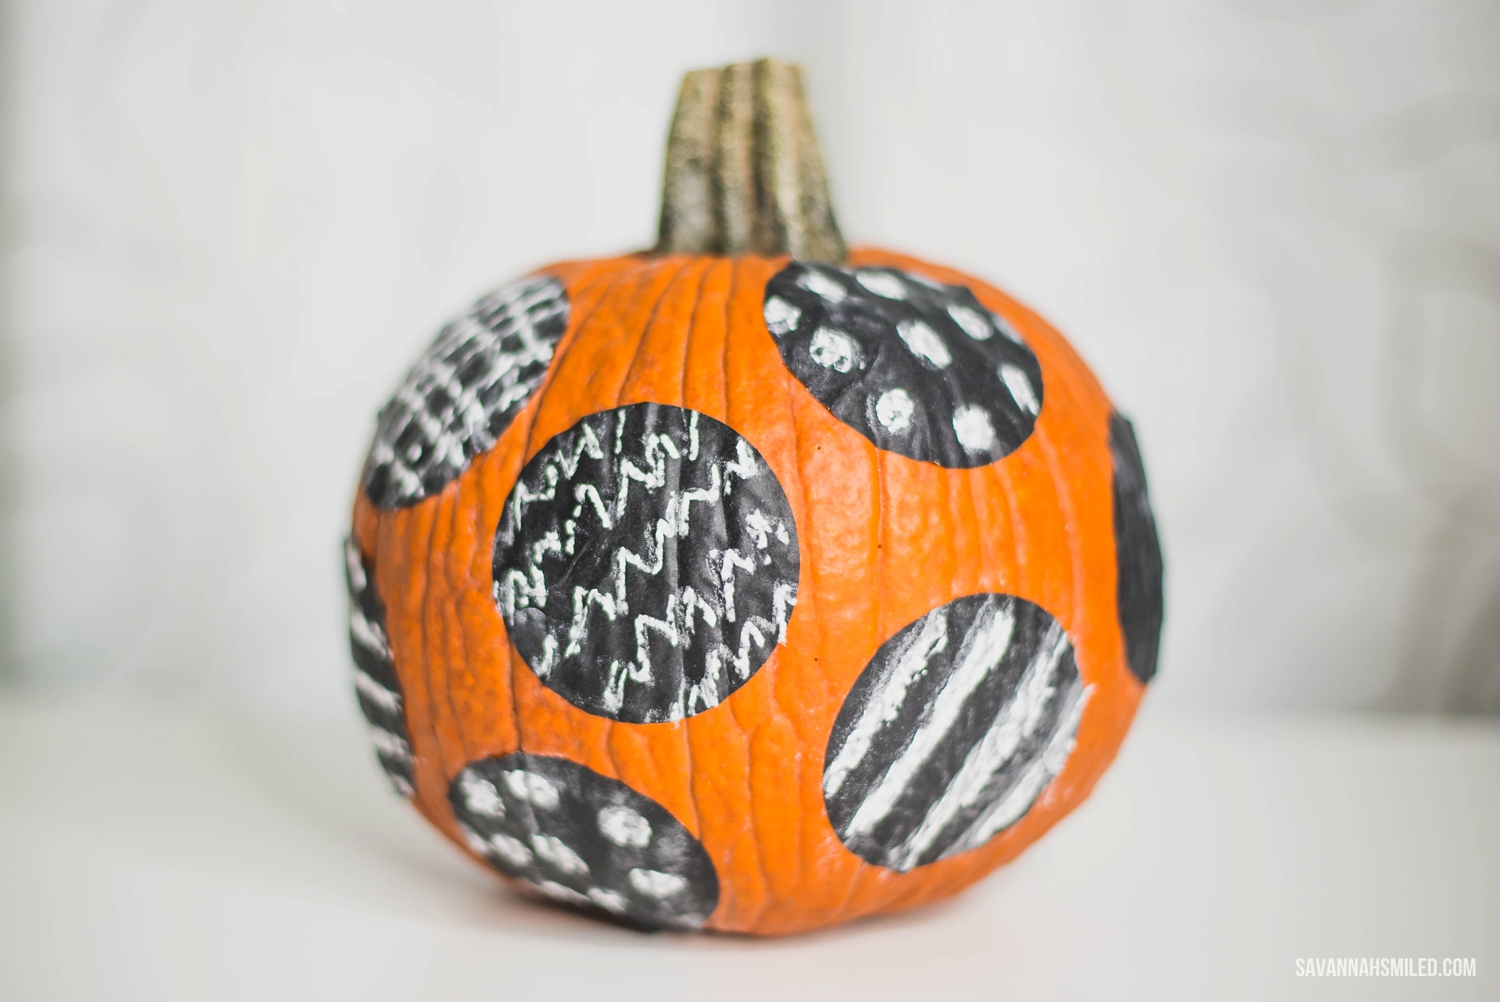
ADHESIVE CHALKBOARD DOTS
Using the included chalk, I made some scribbly designs in a few different patterns. I was going for a child-like vibe here, so don't judge the imperfections. Yeah. Sure. That's what I was going for! As I was sticking the first dot onto the pumpkin, I realized that using a chalk marker would have way better. My pumpkin was really rough and bumpy, so I kind of had to erase most of the markings to make it stick. Lesson learned: use white markers instead.

EARRING SET
This one certainly has a bohemian whimsical look and I love it! The mix of earrings on the set will make for a perfect fall decoration, even after Halloween is over and done with. I think I'd like to try buying a few more sets and filling in some of the open spaces, but other than that, it's a super simple way to cover a pumpkin in just a few minutes.

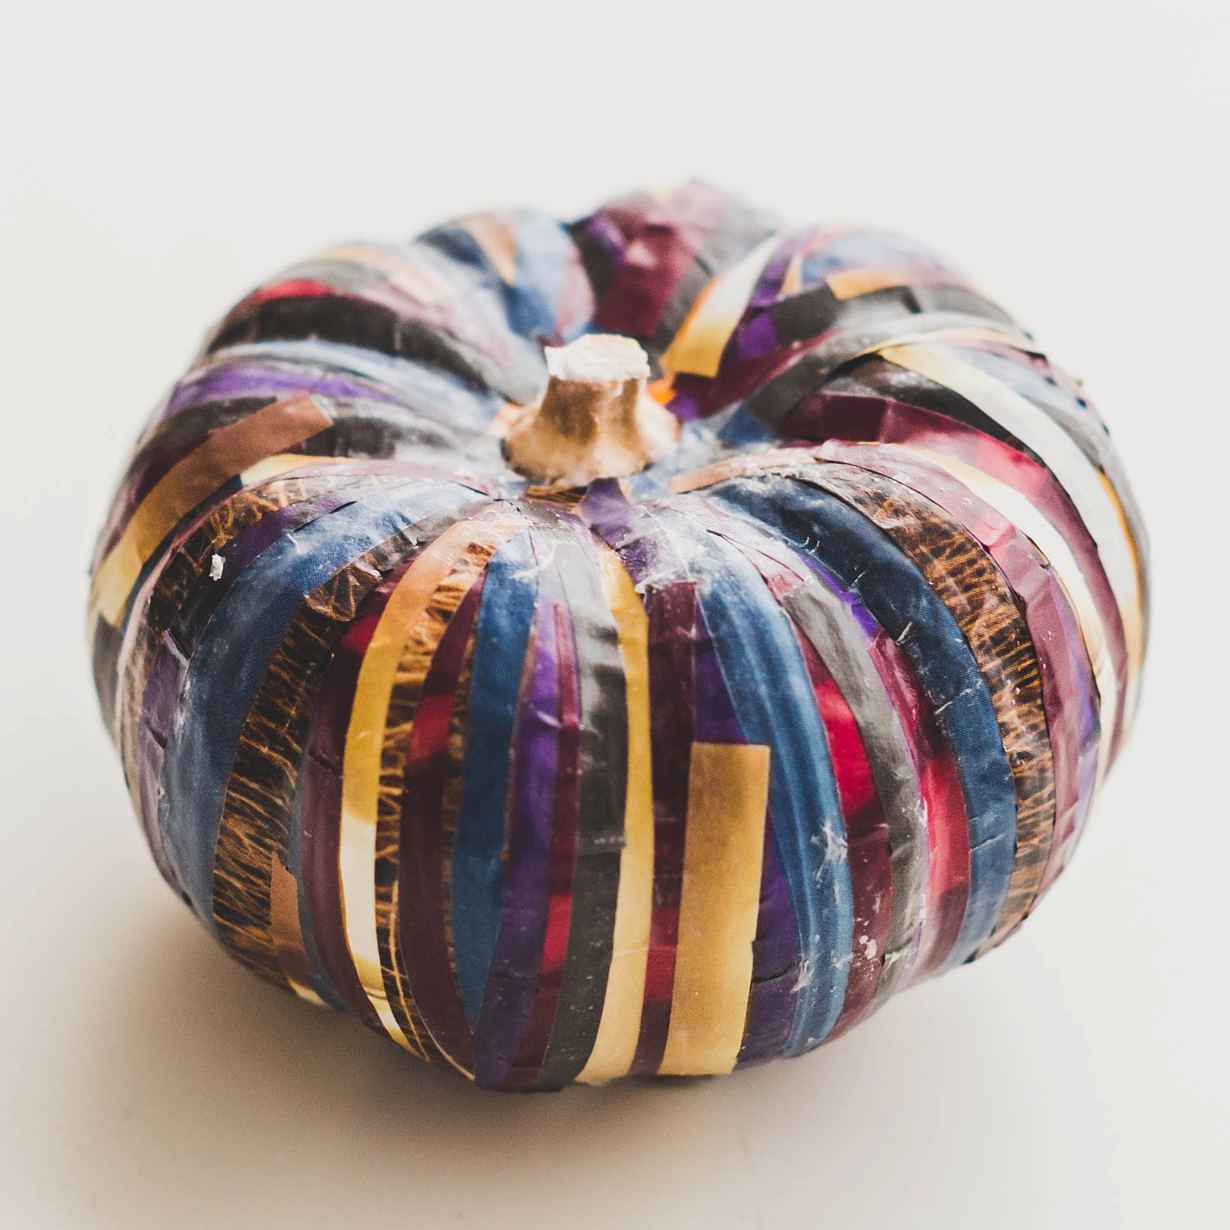
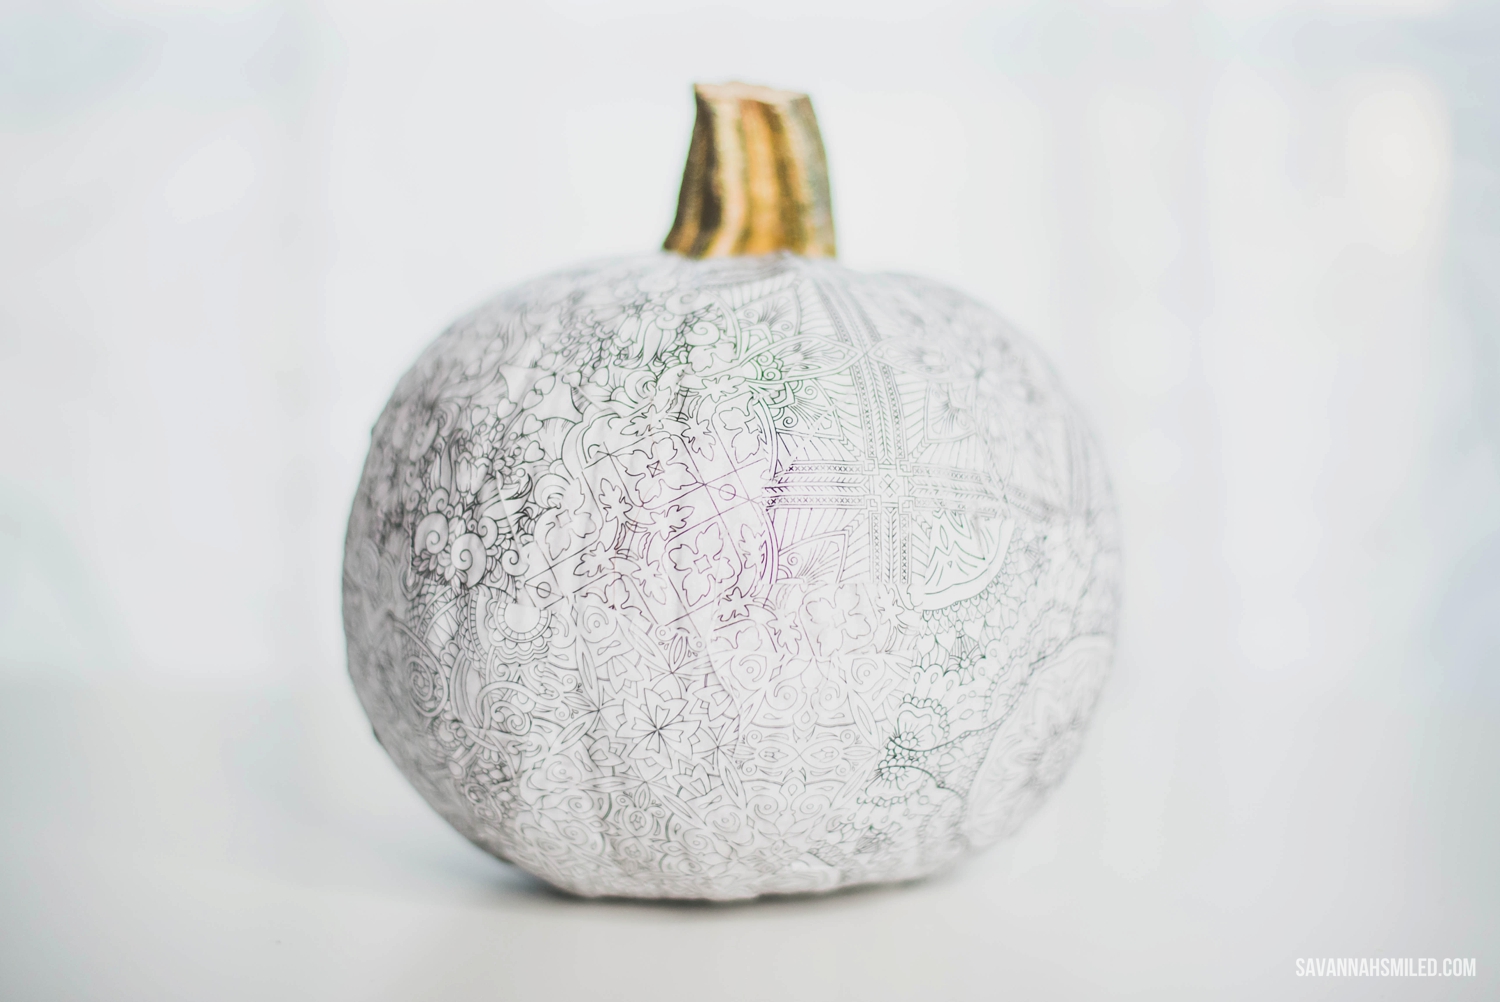
ADULT COLORING BOOK
Of all these options, this is definitely the most time-consuming, but simple still! I'm a fan of decoupaging, so this wasn't so bad to me. Seriously, decoupage ALL THE THINGS (especially pumpkins).
Anyway, I torn out several sheets from the coloring pages and placed them all over the pumpkin, Mod Podging as I went. Because the patterns are so small and detailed, it's hard to even tell where one page stops and another begins. If I wanted to get real technical, you could probably actually color in all the pages right on the pumpkin...again, I'm trying to save myself some time and I really like the neutral white look.

COMBINATION
These are easy enough, right? If you're feeling a little more ambitious, try combining several of these DIY projects into one awesome pumpkin creation. For this, I used the coloring book decoupage, with a little "boo" chalkboard dot, surrounded with funky earrings, in a sea of bling it on strips and topped with two little headband flowers. Boom. Unique holiday perfection.

With everything lower than five bucks at Five Below, I know I can make it out without breaking the bank. That's why these supplies are so great to share!
If you have any creative pumpkin DIYs to share, be sure to tag me on social media (@savannahsmiled, #savannahsmiled) or leave me a comment below!