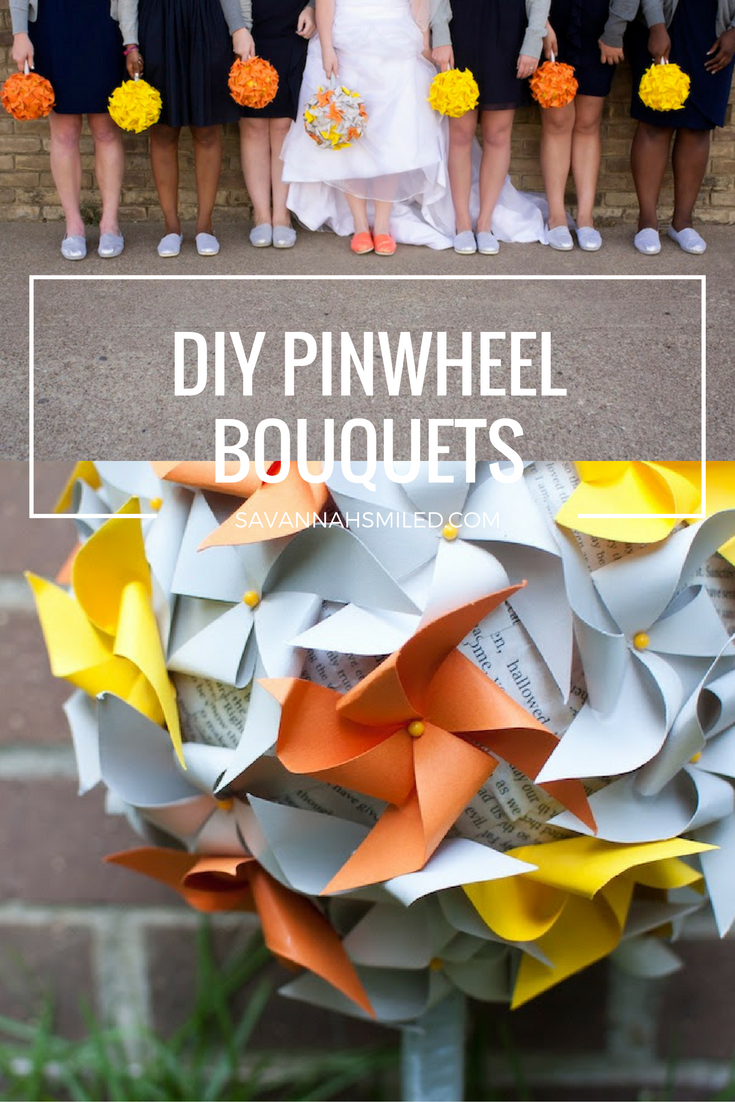
DIY | Pinwheel Bouquets
During our planning, I found out quickly that flowers were not going to be in our big day. 1. They die. 2. They're expensive. 3. They're normal. Browsing around online, I saw so many different ways that pinwheels could be incorporated instead. I knew that's what I wanted! Tweaking other projects, I created 6 bridesmaid bouquets & my own.
SUPPLIES I used:
Base:
wooden dowel rods, hot glue gun & glue sticks, ribbon, styrofoam balls, tissue paper, modge podge
Pinwheels:
scrapbook paper, scissors, push pins.
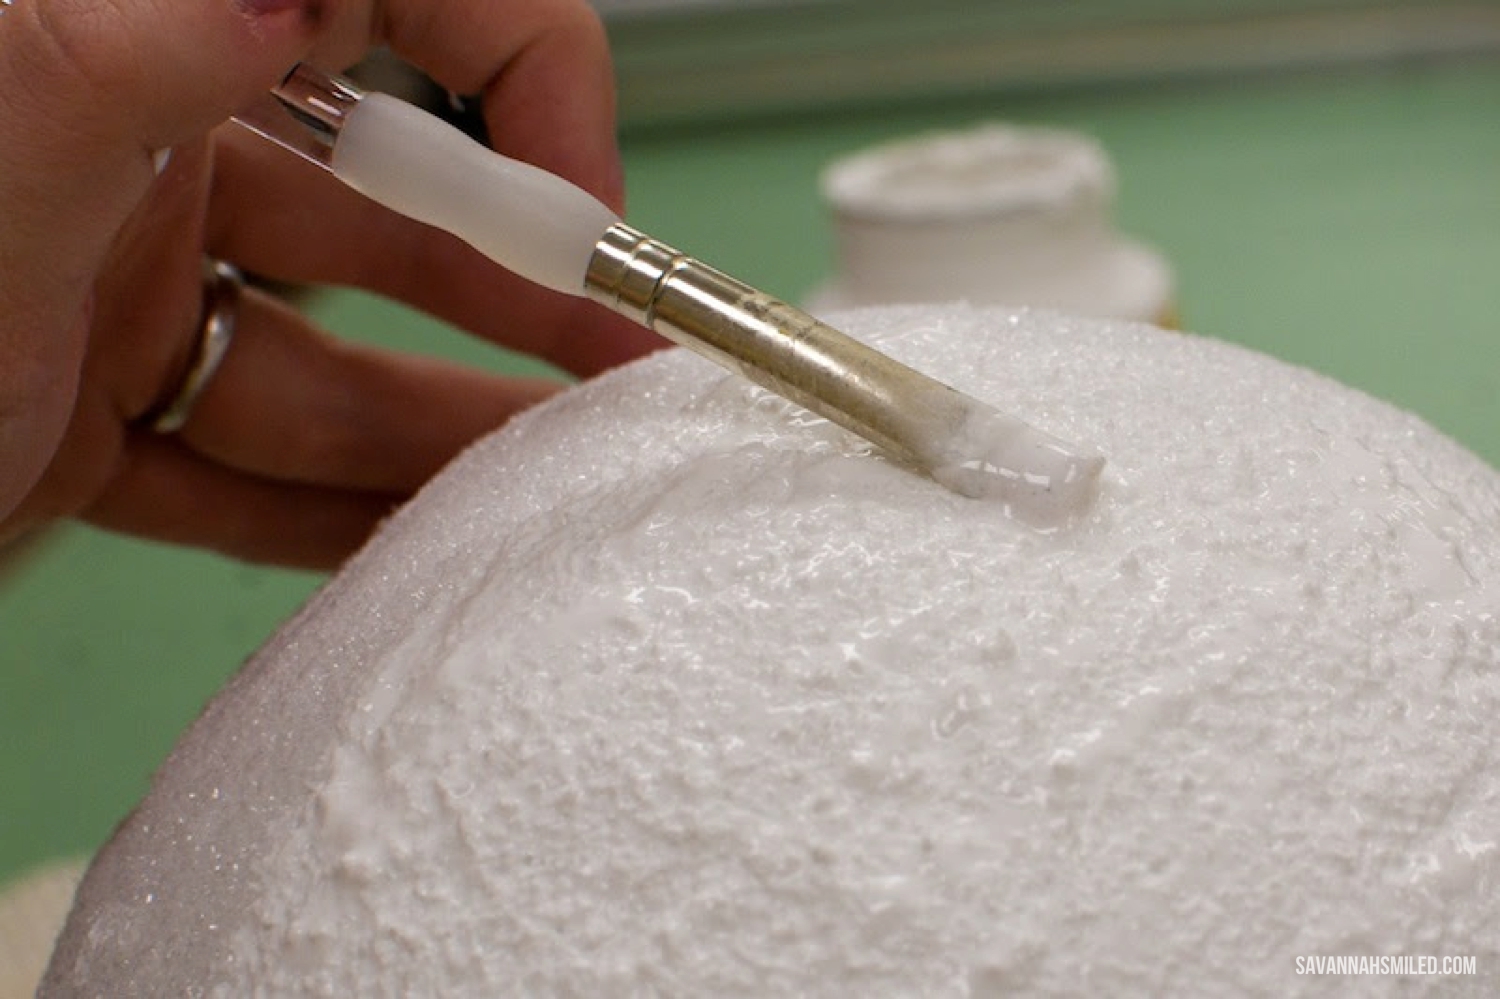
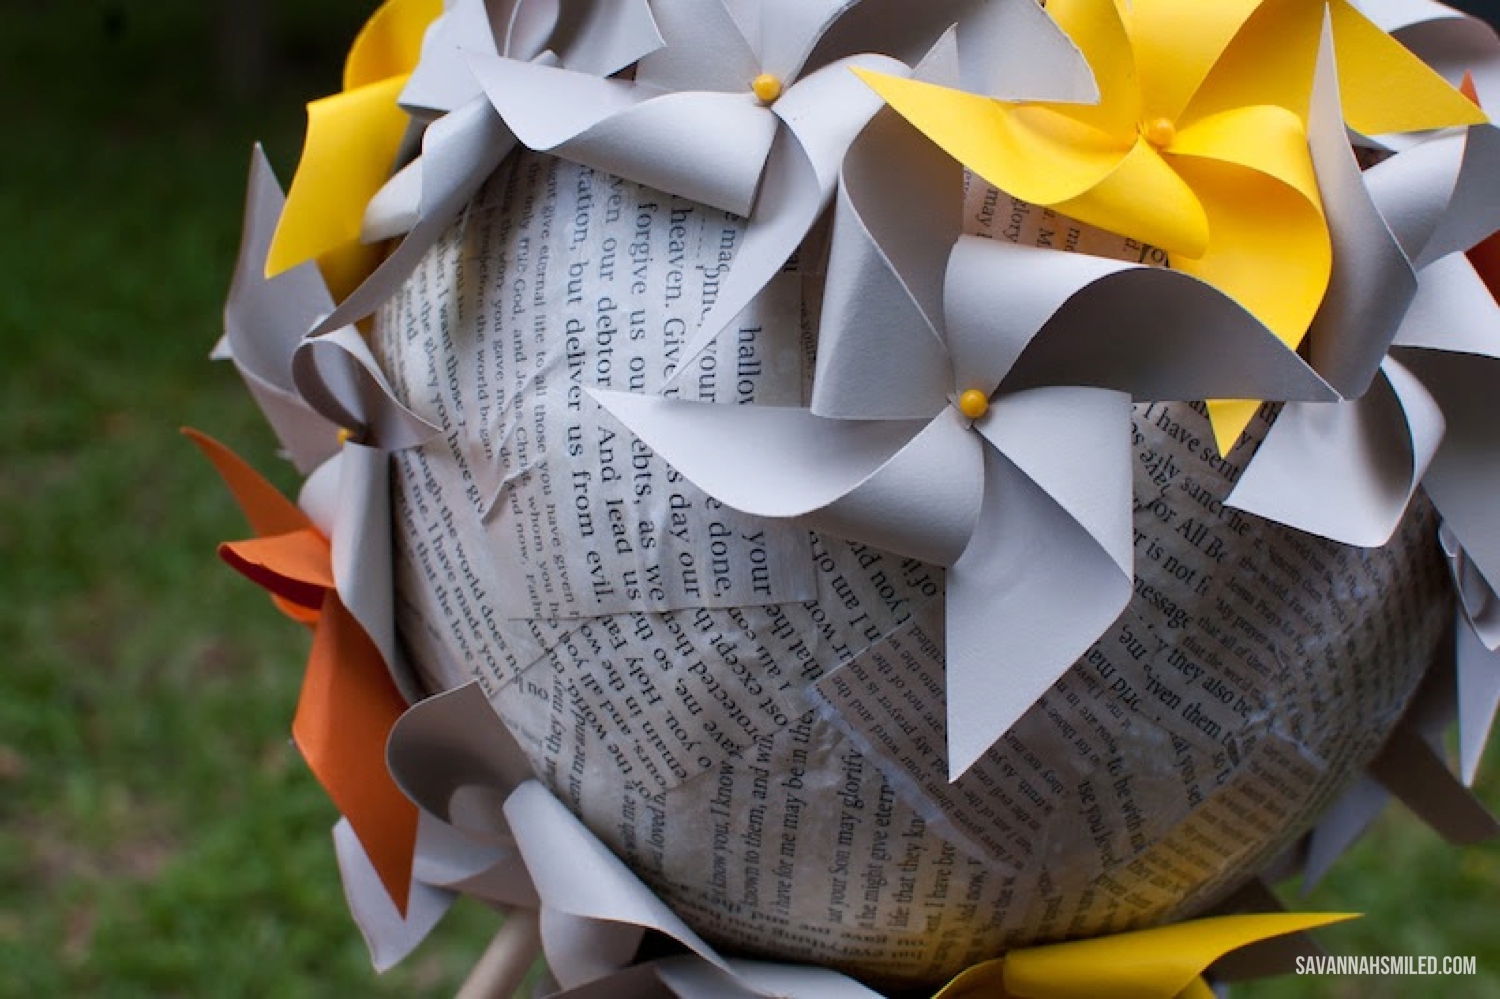
1. Cover an area of the styrofoam ball with modge podge. This is messy, may want to take off your engagement ring!
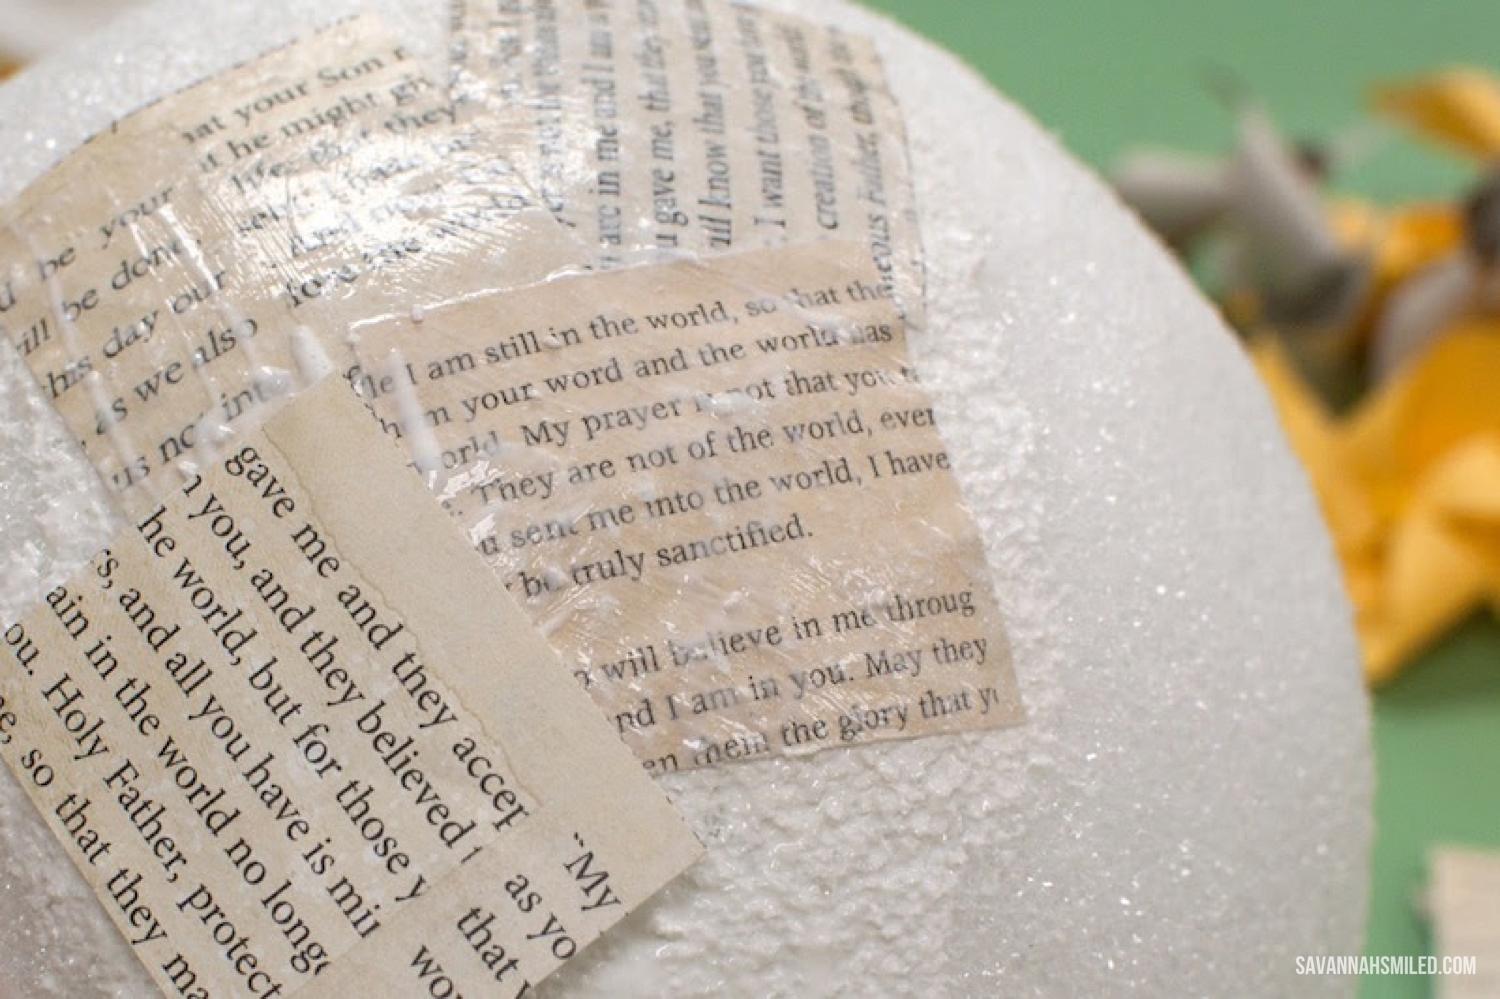
2. Place paper scraps on the wet area and add more layers of the modge podge on top. Keep layering until covered. I used pieces of scrapbook paper to cover the ball, but I DO NOT recommend it. The scrapbook paper does not adhere well to the ball. At all! I continued with this arduous process for mine (it really took forever), but I highly advise you replace the scrapbook paper for tissue paper. I used yellow tissue paper for all the bridesmaids and it was so much easier. TIP: As you're waiting on areas to dry, place the balls on a disposable cup (red solos are sturdy enough).
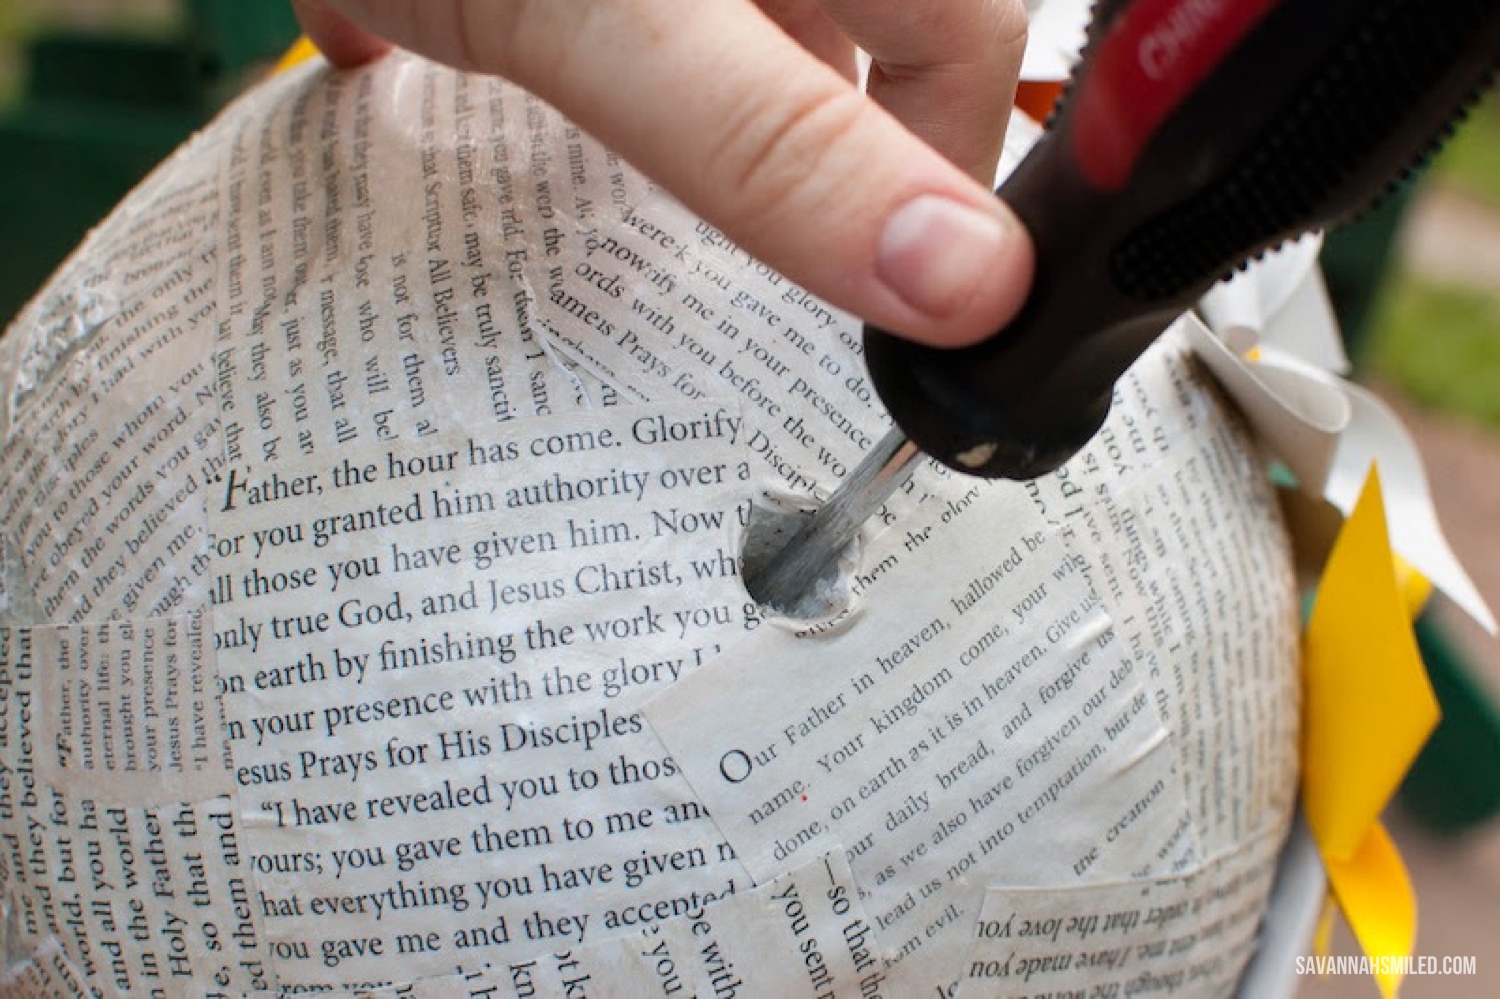
3. Once it's all dry (you may need to wait overnight) use a screwdriver to create a hole in the "bottom."
4. Now it's time to create little pinwheels! This takes a while too, but you can make them while watching tv or listening to music, so that's not too bad. By folding a 12x12 scrapbook page in half, "hot dog" style twice then in half "hamburger" style twice, you will see 16 squares. Cut them out. (I did all the cutting first to get it out of the way). Then, using the squares, you will need to cut and fold into pinwheels.
This site helps if you're not familiar with how to create pinwheels.
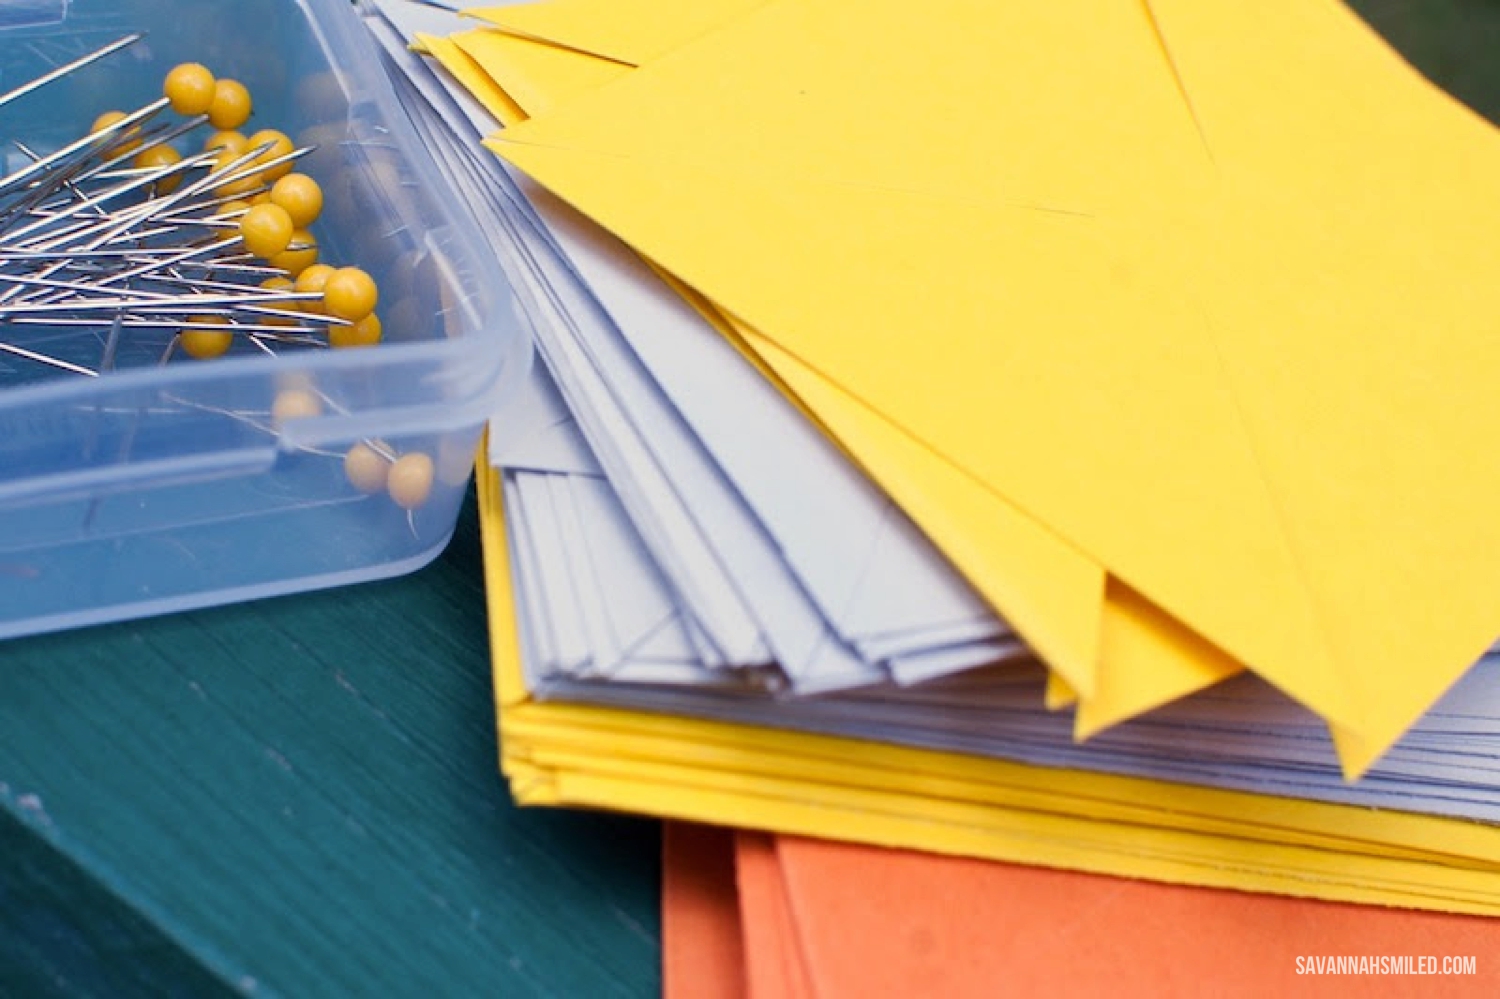
5. Using push pins (perfect that they were yellow), I finished off the little pinwheels. I did not use glue or any kind of adhesive on the pinwheels themselves. They were going to be pushed into the styrofoam soon and that is enough.

6. Creating a color-pattern (if you use more than one color) push the pushpins/pinwheels into the dry styrofoam ball. Some stick in very well, but for the others I use a dab of hot glue, just to ensure they will stay. Keep filling in the styrofoam until there are no more empty spaces. Be sure not to cover up the hole made in #3.
7. Wrap the wooden dowel with ribbon (we used silver) and secure it with hot glue. Then hot glue the end of the dowel and press into the hole. Within a few minutes it should be completely secure.
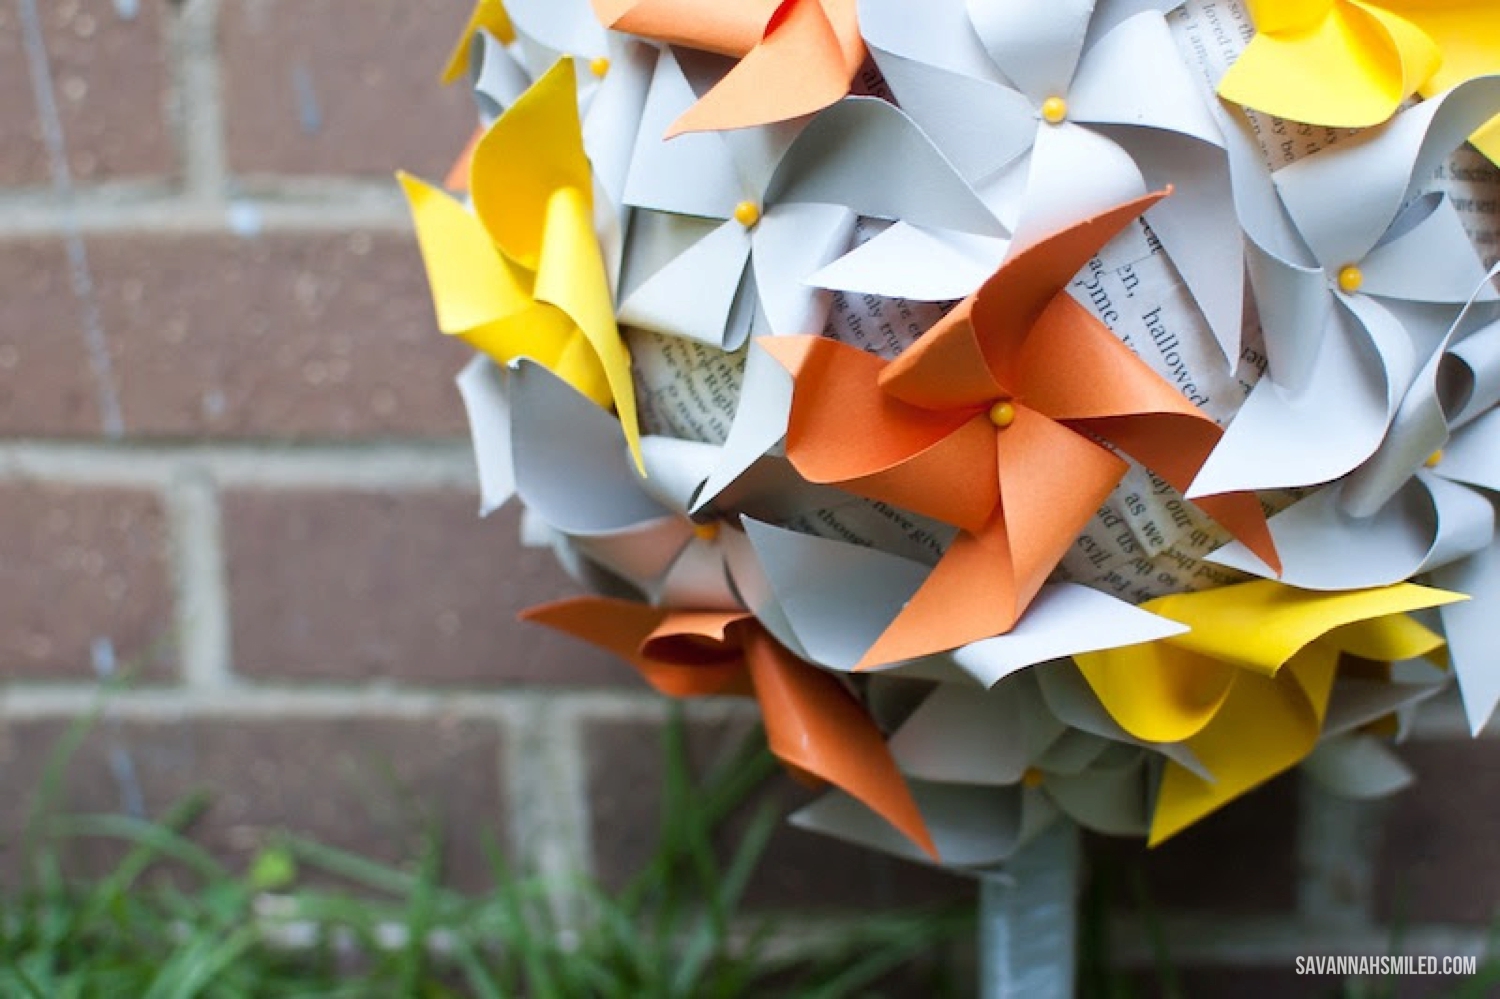
Until the big day, we stored the bouquets in vases. The bottom pinwheels get a little beat up, but nothing noticeable. They were a lot of work to create & to get to the venue, but very worth it. I love the modern look they brought.
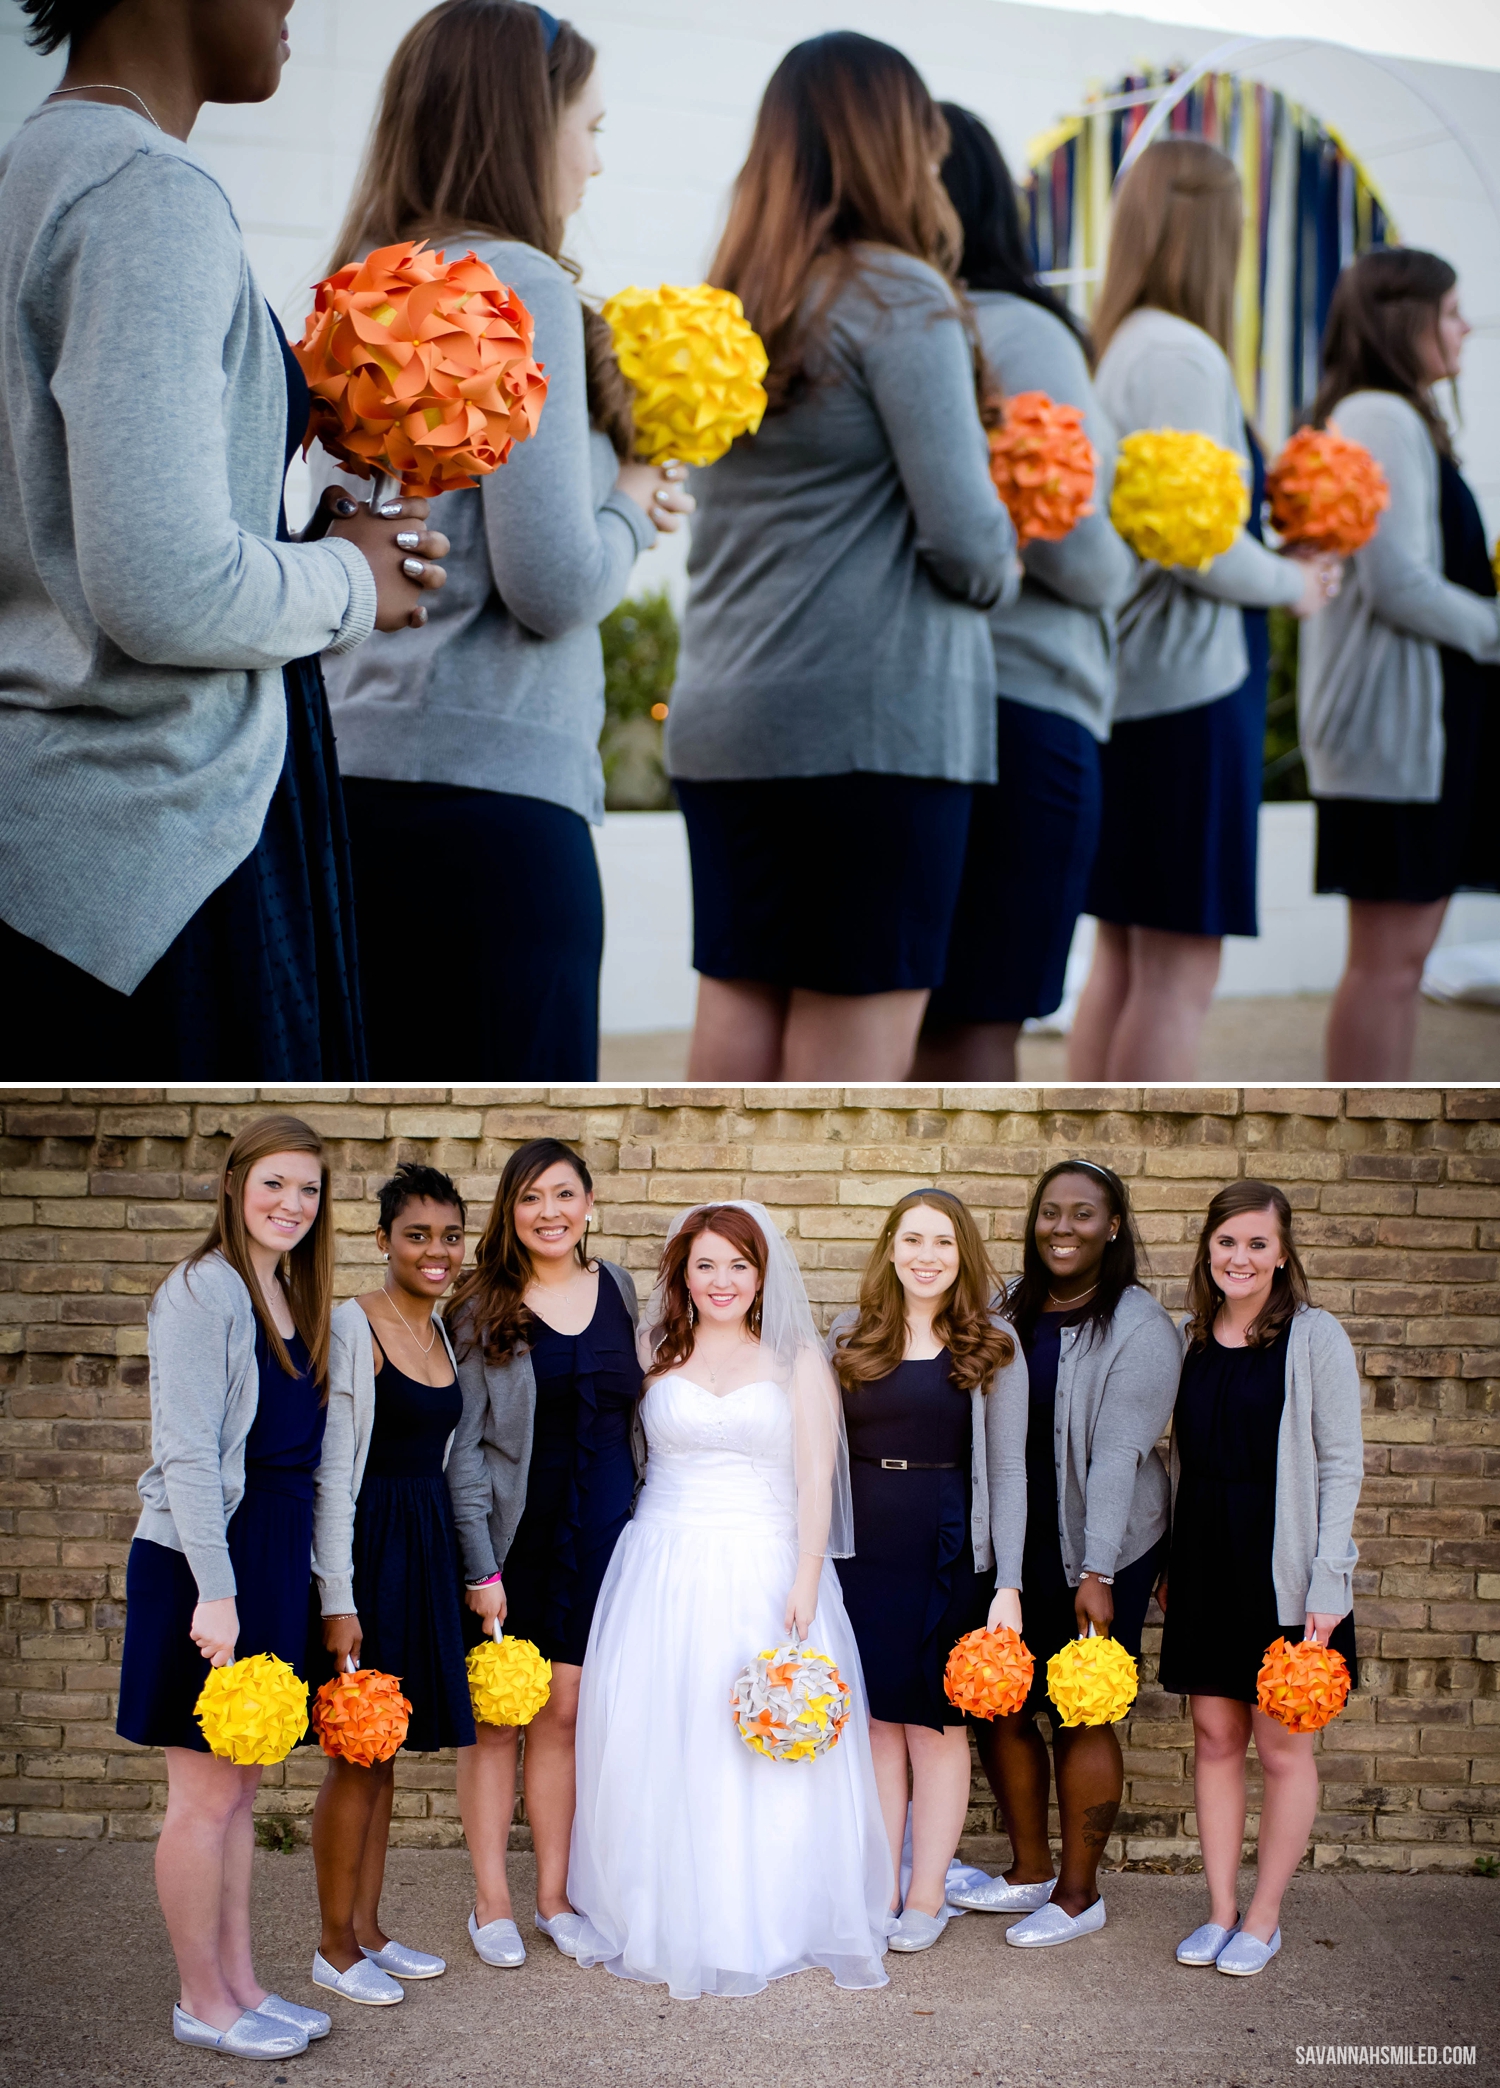
Of course, these things are HEAVY! I definitely couldn't have thrown this into a crowd of single ladies at the reception, without giving someone a concussion. So, I made another bouquet of flowers to use for that. Tissue paper + pipe cleaners + floral tape. Many versions of flowers like these can be seen on Pinterest. My friend from HS, Katie caught the bouquet. Couldn't have requested that a better person catch it. Perfect timing :) Love you, girl!

Pinwheels went with our theme of whimsy and fun, but there are so many other ways to liven up bouquets. I urge you all to be unique, brides. It's much more fun that way!