DIY | Car Photo Frames
Ever since I had my very own car, I've been a car decorator. I hope someday I can find a picture of the collage of pictures, ribbon and ticket stubs that my 16-year-old self carefully pinned to the ceiling of my '99 Honda Civic. It was quite the masterpiece. As much as I could do with a souped-up clunker, I can't bring myself to stick needles into my less-than-a-year old Mazda. Well, I totally would for the sake of "cute," but I'm pretty sure my husband and everyone around me would not allow me to do so.
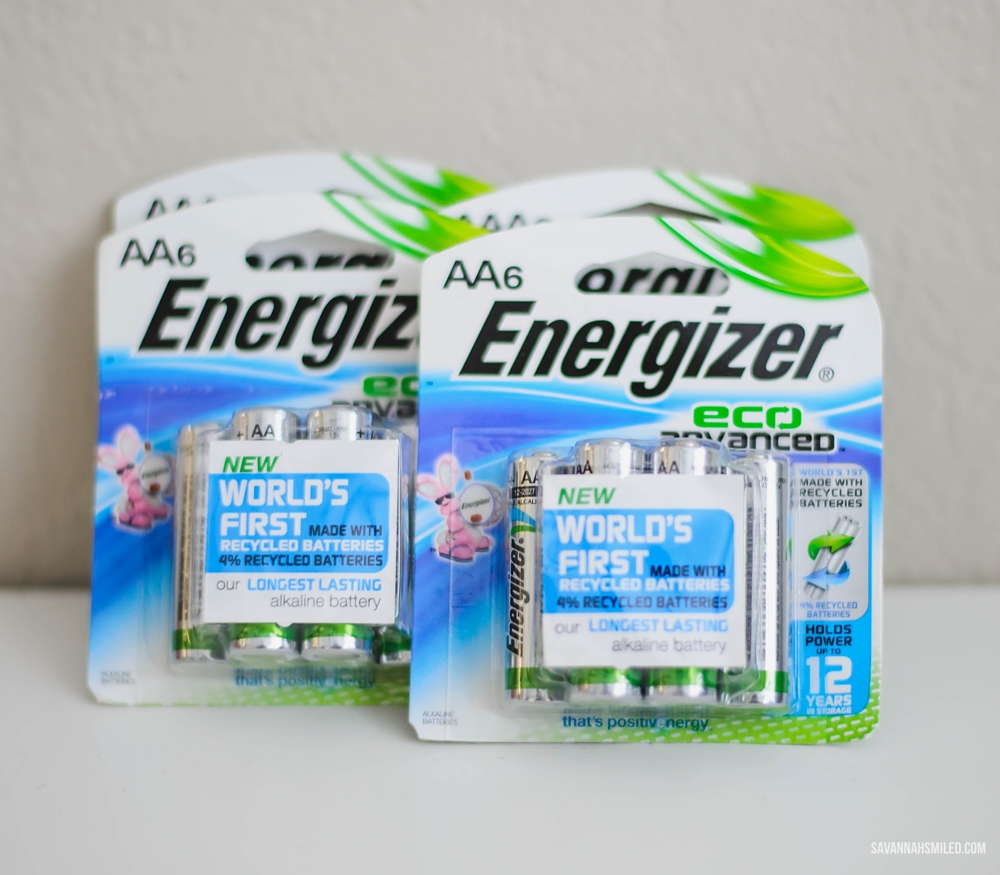
Here's a way to create a little bit of cute, without messing up anything in your car - car photo frames. You'll need: Tiny photo frames (found these in the front bins at my local Michaels), air freshening car clips, E6000 glue and photos to fill the frames.


1. Remove the frames' kickstand backing and top ribbons.

2. Remove the scented parts of the air freshening clips. I suppose you can leave them on, but I never really use these fresheners, so I just made sure they were gone before gluing.

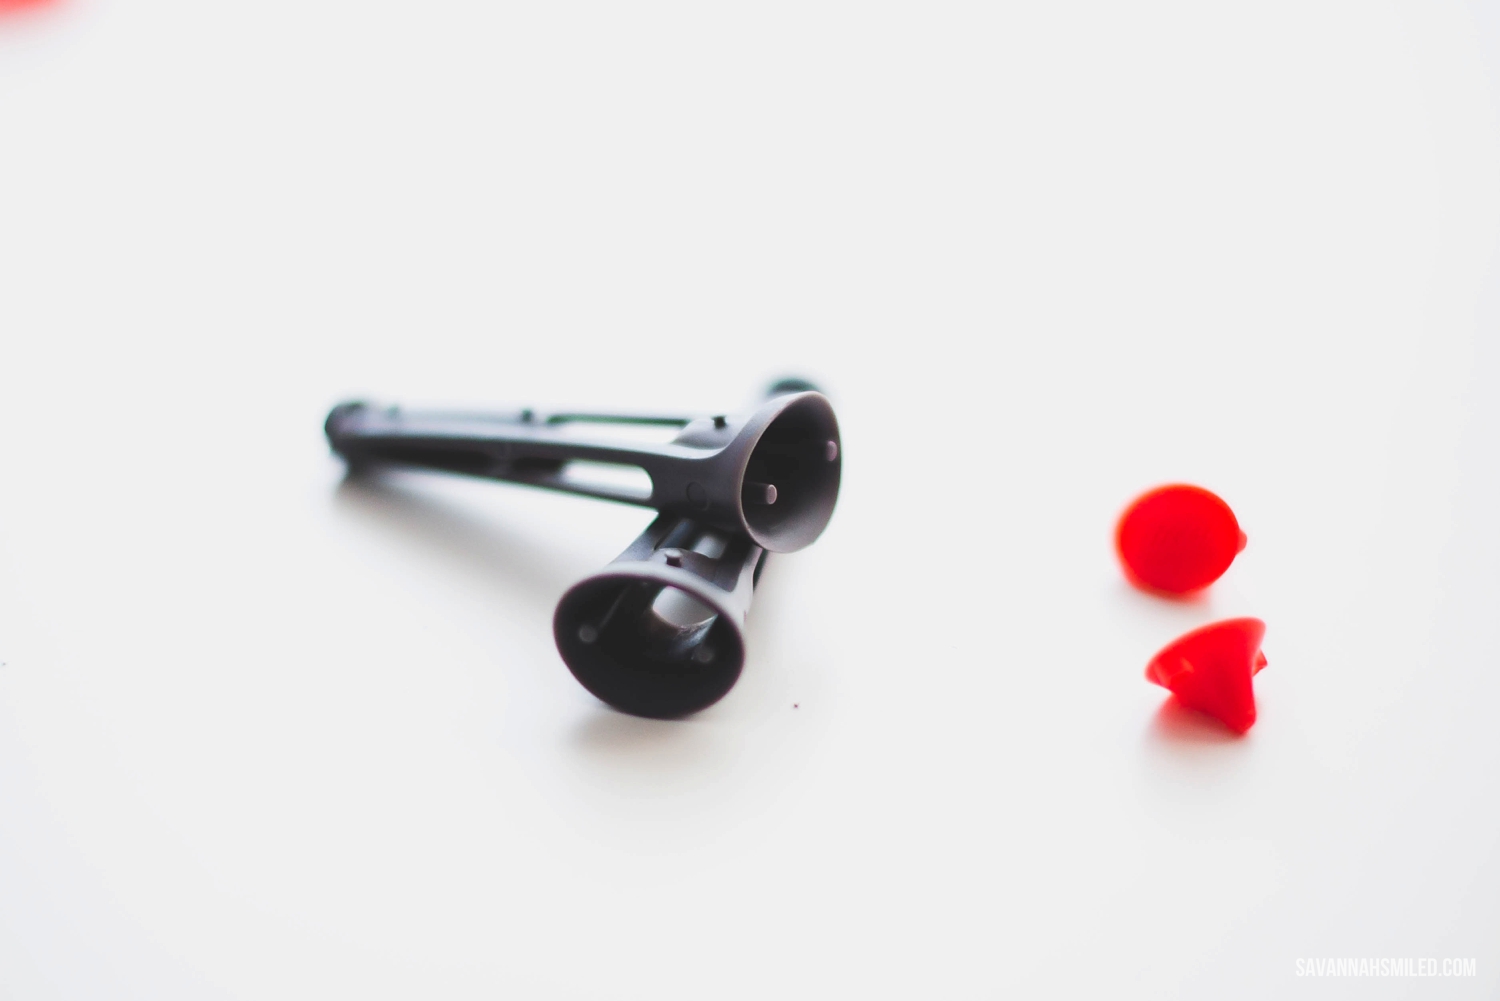
3. Generously glue on the air conditioning clips to the back of the mini frames.


5. Least favorite part of any project - wait patiently. I let mine dry a complete 24 hours before picking them up again. Did I mention I hate this part?

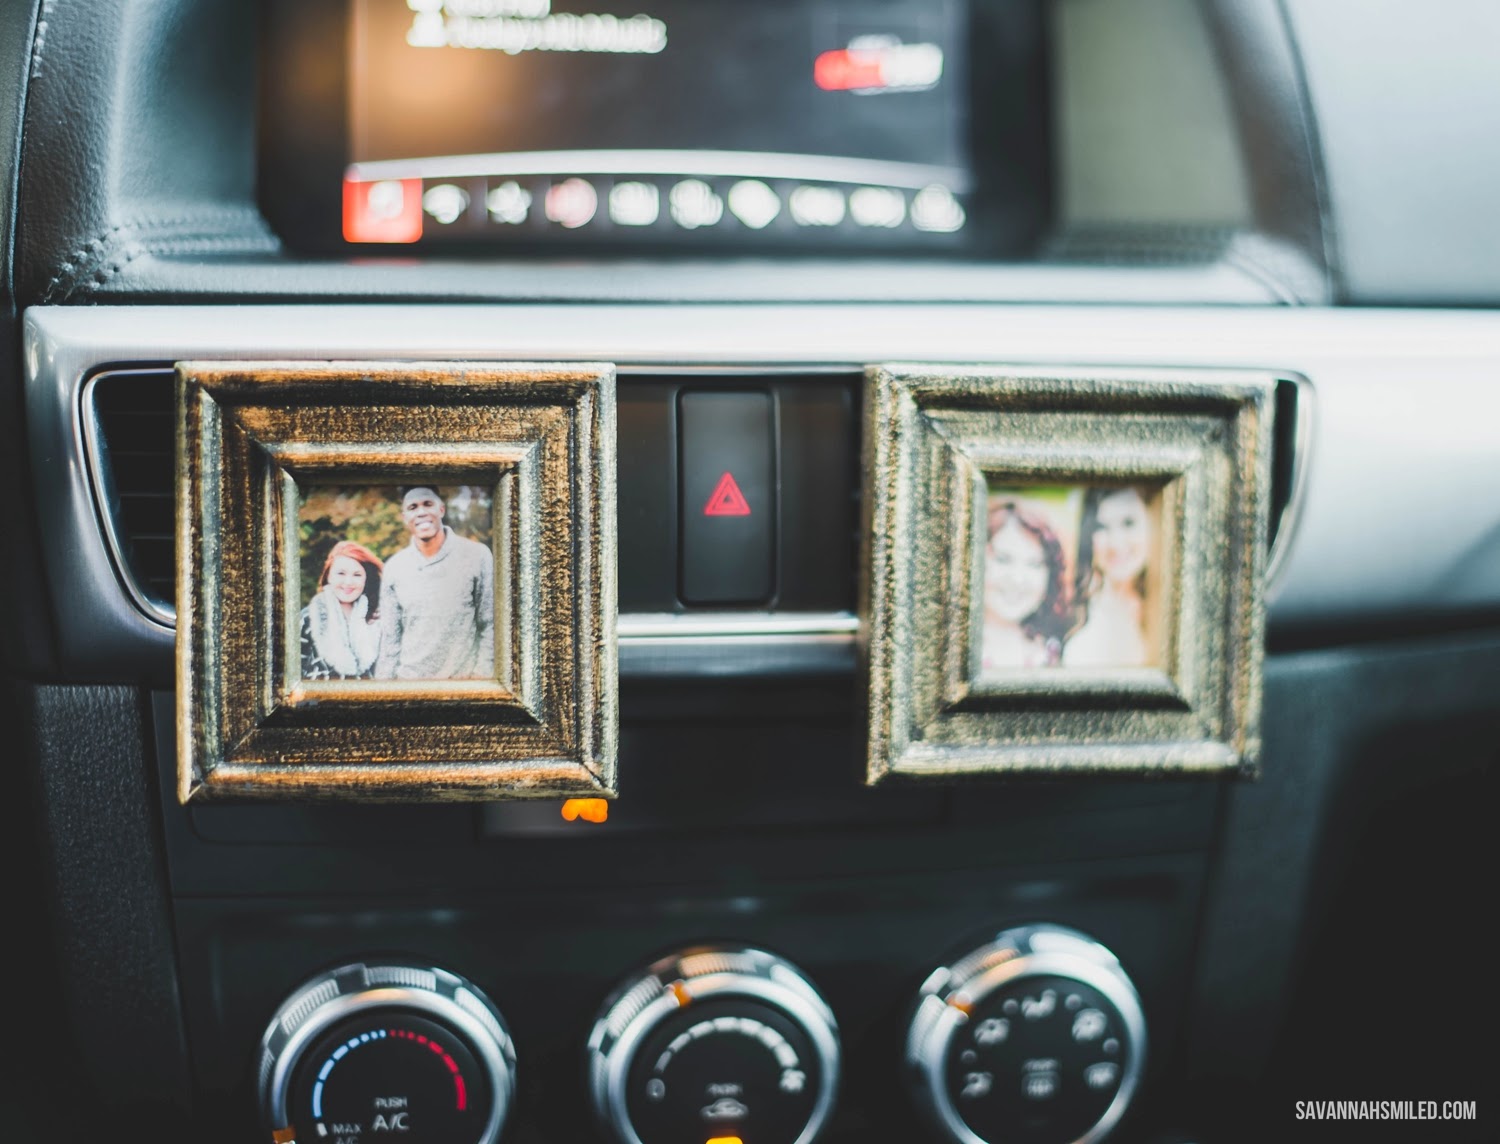
6. Now it's time to fill the frames with your own photos and clip them into your car!
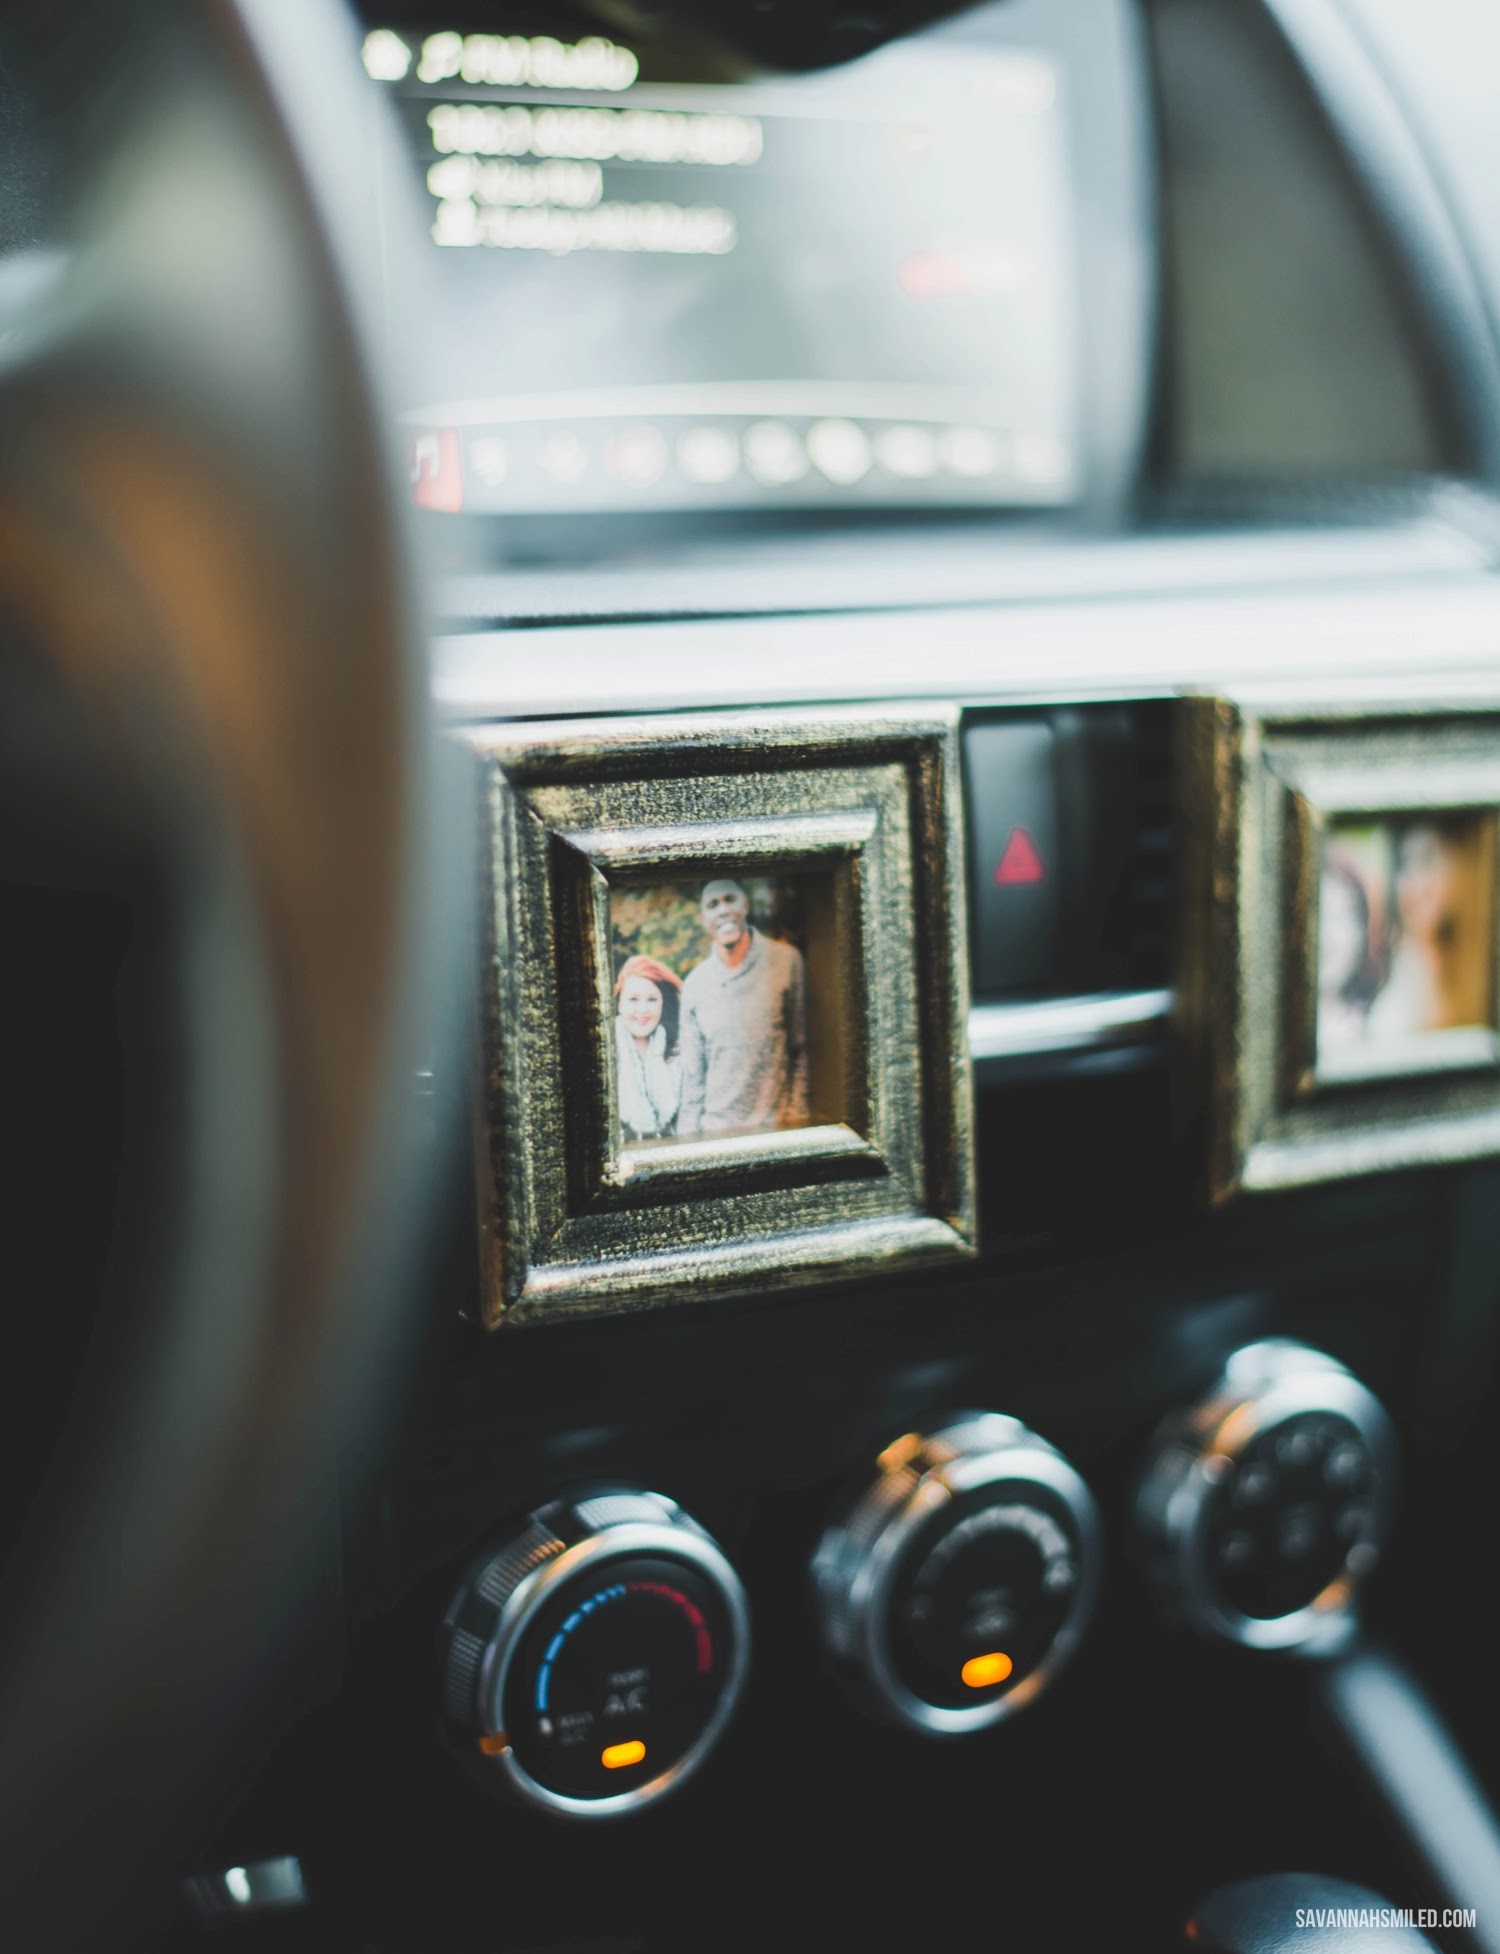
Of course, these do cover up your air conditioning vents, so it's not as useful for those lovely 100+ degree Texas summer days we have. But, if it's feeling nice outside and you don't need that much air circulation, they're perfect!
Yes, this is pretty silly, but if you've always decorated your car like I have,
it's okay to be a little silly + cute!