
DIY Doormat with Stencil Revolution
I tend to have a lot of high hopes to DIY fun gifts during the holiday season. Aaaaaaand then I totally don’t get to them because 1. Sleep. 2. December is madness. 3. See number 1. One of those just-didn’t-get-to-it projects this past Christmas was a custom doormat for my sister’s new RV home. I bought the blank mat and that was the entire extent of my efforts. Luckily, she wasn’t in on my secret plan, so she never missed what she didn’t know about.
When Stencil Revolution recently reached out to me and asked if I’d like to try one of their laser-cut stencils, I knew this was my second-chance. The DIY Doormat project must go on, even if two months too late.

In addition to this cute “Happy Camper” stencil from Stencil Revolution, I got the rest of my supplies for this project at local big-box and craft stores. Items like these can also be found on Amazon (affiliate links): Natural Coir Doormat, Outdoor Acrylic Paint, Outdoor Mod Podge, Large Stencil Brush, Small Sponge Brushes and packing or masking tape. Find them all in my Amazon storefront.


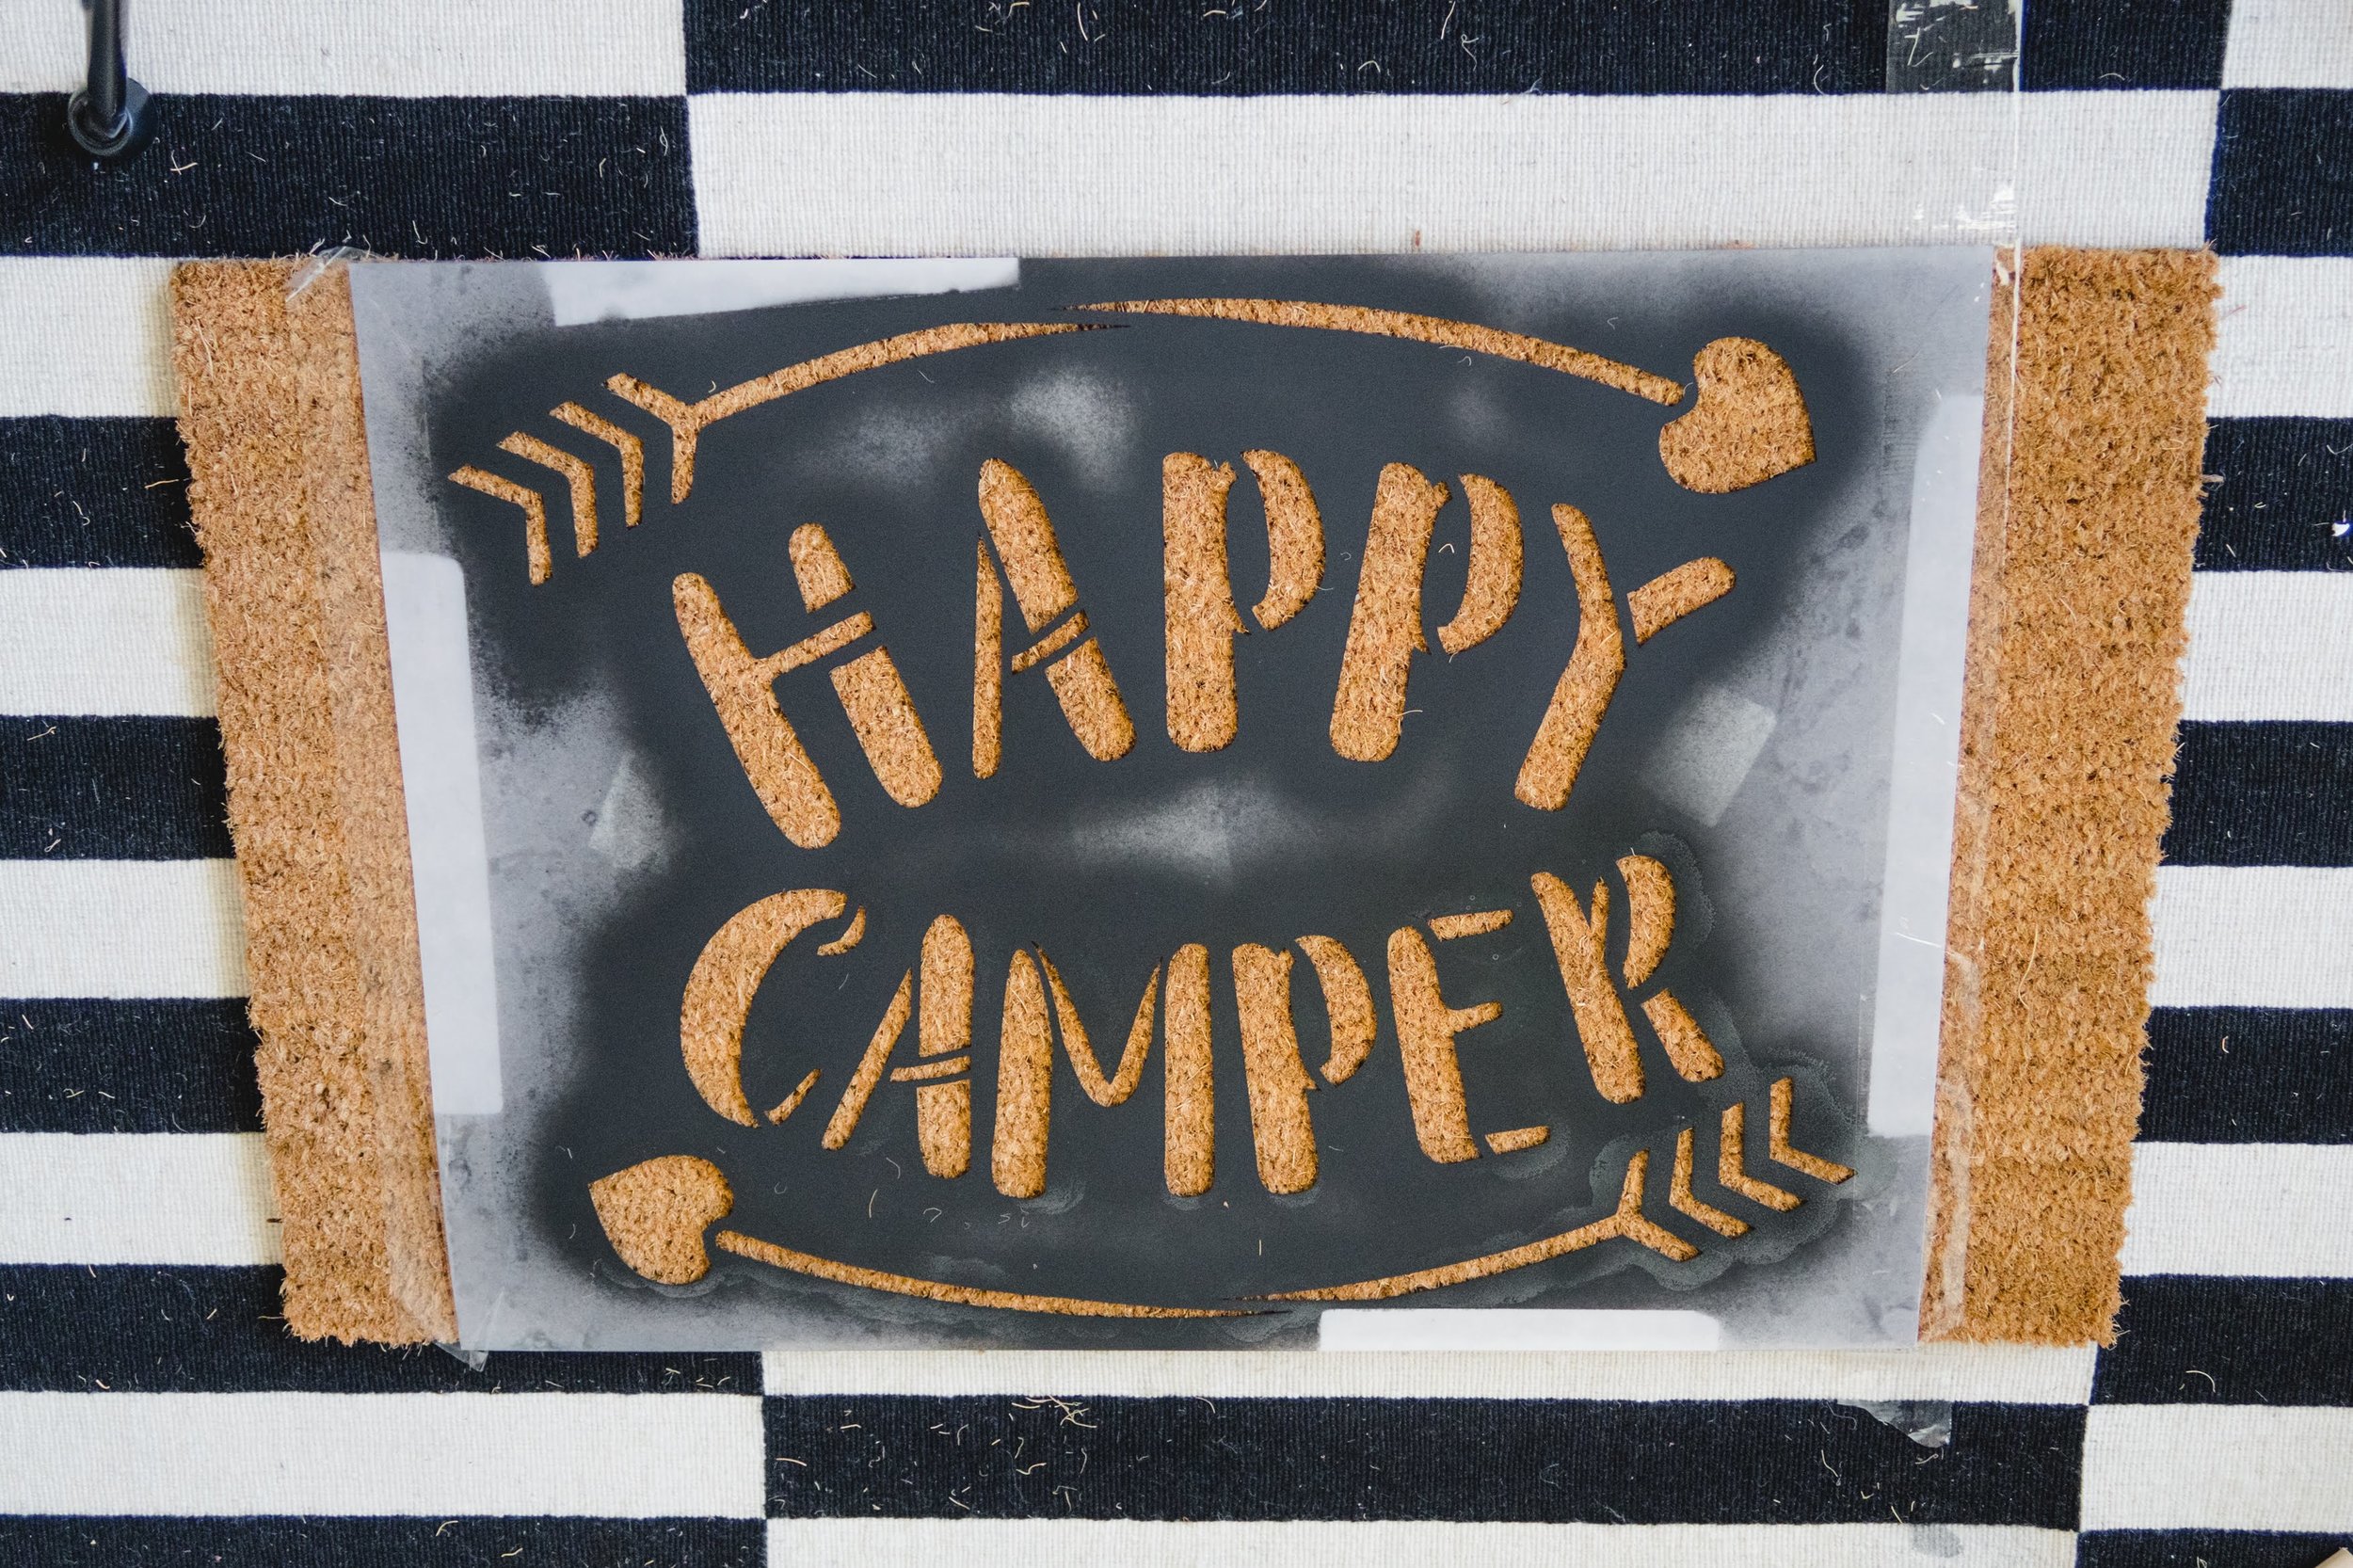
Tape down the stencil right where you want it on your mat. I rolled tape on the back, as well as taped down the sides on top of the stencil. 2. Using outdoor acrylic and the stencil brush, pat the paint onto the inside of the stencil. At some point I felt like I was outright stabbing the thing, but you really have to make sure the bristles get into the mat.
3. Once it’s completely covered and well painted, let it dry. 4. Slowly peel off the stencil and tape. 5. Using a sponge brush, dab on a good layer of Outdoor Mod Podge across the painted area. This will look goopy and white until it dries clear. I did this twice, waiting for it to dry in-between. 6. Let the mat really dry/cure for several hours, then it’s ready to use.

In a little more total-fail-news, don’t try to cut corners with this project! I tried to make one with spray paint (below, left) and let’s just say, it did not turn out in any way, shape or form. Half the problem may be the type of mat I used, but the spray definitely ran right under the stencil too. So, patience is a virtue, y’all. Get your brush and get after it.

You can spot this cute DIY mat (and this bright yellow door) on my sister’s RV Instagram feed: @SimpleCatLady.
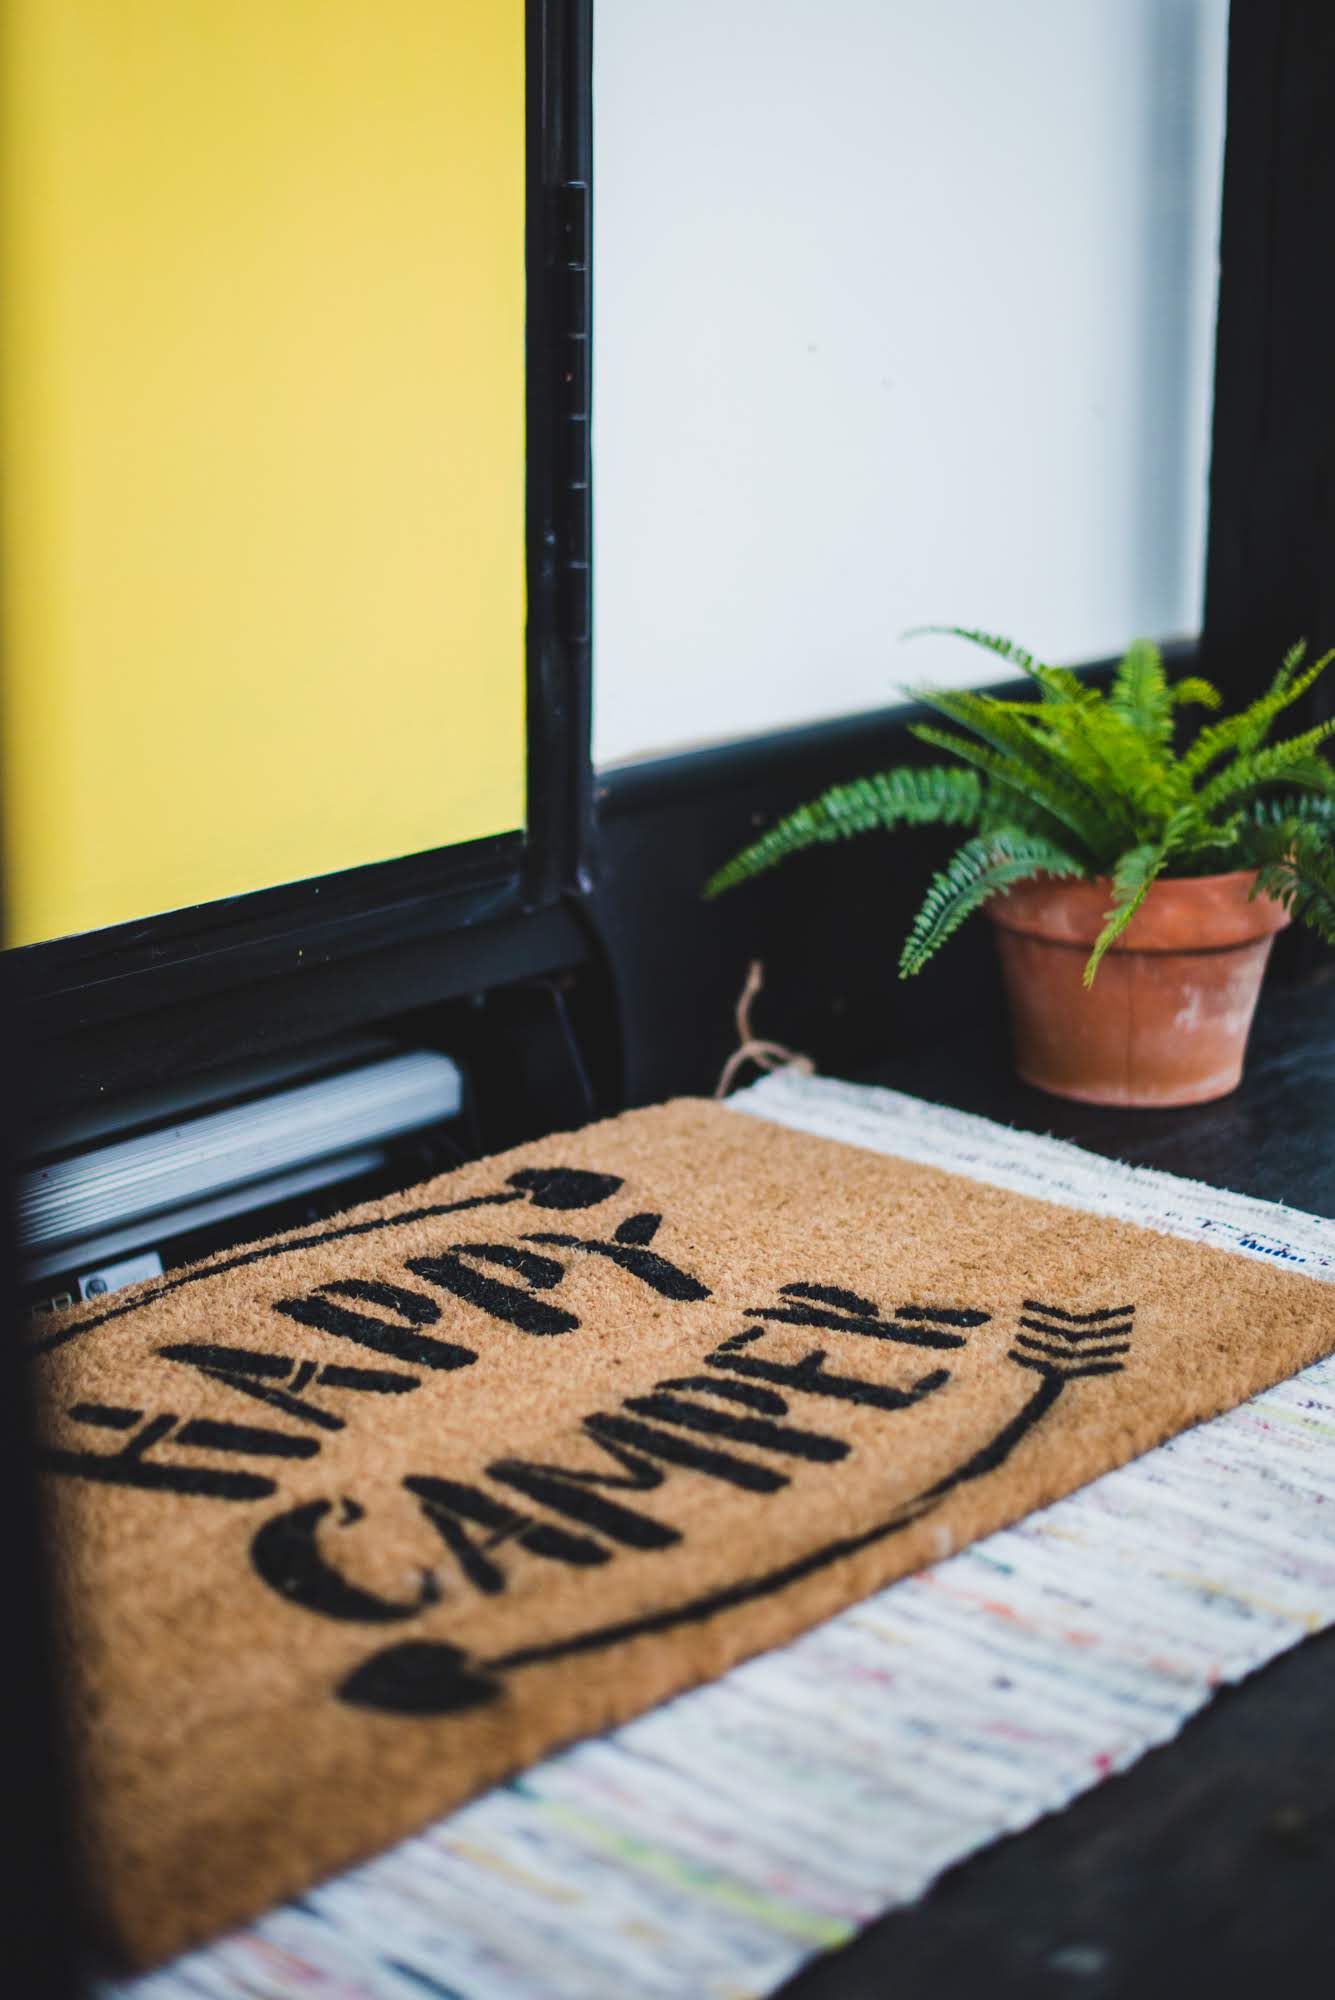
Happy Valentine’s Day to @simplecatlady and her cute new DIY doormat and big thanks to Stencil Revolution for helping me get one of the supplies I needed to finally make this gift happen.