
A Bright Blue Malm Dresser Makeover
[Any link on this blog accompanied by an asterisk is an affiliate link]

For my birthday this year, I got a teal 3-drawer dresser from IKEA's "as is" section. I didn't want to spend a ton of money, so the color just had to work for us. We continued using our small nightstands and had the teal dresser in a corner. Realization this past week: small nightstands out, large dressers in. I sold off the 2-drawer nightstands and found a like-new 3-drawer dresser on Craigslist...my first-ever Craigslist purchase! [Big pluses for buying IKEA furniture in their "as is" section (or Craiglist): much cheaper and YOU DON'T HAVE TO PUT IT TOGETHER!]

I don't think my husband understood why I bought a cedar dresser to go with our other teal dresser and black bed frame. I had to let him know that they would look the same in the end. Probably didn't believe me, though!
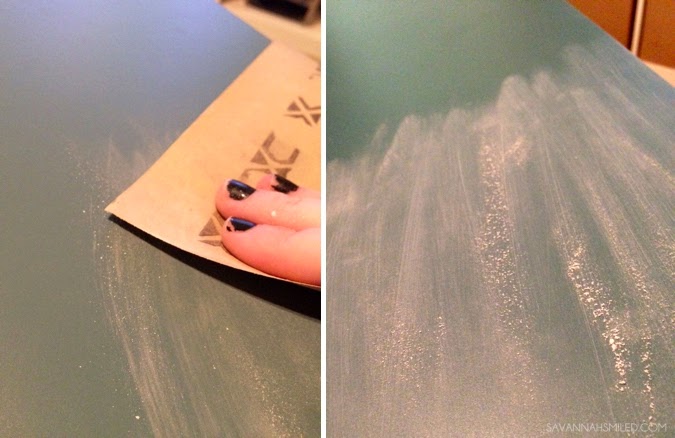
Step 1: Sanding. Yuck. I don't have a big-time sander, so I had to do it all by hand. Not a whole lot of fun, but it didn't take too long. I wiped down with a towel and alcohol afterwards, just to make sure all debris were gone.
Step 2: Priming. I heard from other blogs and searches that priming, though necessary, doesn't need to be thick, or double-coated. I used Rust-Oleum Ultra Cover | White Primer* and it worked really well for me. I covered all the drawers where they looked perfectly white. (Secret: I ran out of primer for most of the surface area of the dressers. I made sure to sand those areas extra well and it worked all the same).

Step 3: Taping. I forgot to take pictures of this process. Bah hum bug. Using blue painter's tape, I taped the edges of each drawer-front. Then, I taped again on the inside of those tape pieces and removed the outer layer. That may not make any sense at all, so hopefully the pictures say enough.
Step 4: Painting. Originally, I started painting with blue spray paint. Dumb idea. It's been so humid over the past few days and I would have had to end up using 8 bottles of spray for it to work. I quit that tragedy and bought Rust-Oleum Protective Enamel | Gloss Sail Blue*. The color was lighter than I originally imagined, but loved how it turned out. Worked like a charm: One coat and done. I let it dry for about 15 minutes then peeled off the painter's tape.
 |
| [PIN IT] |
Step 5: Drying. It needs to dry for quite some time. I had to leave mine indoors because of our awful humidity...which means I also had to leave my vent fan in the kitchen on for hours at a time, so my brain wouldn't completely give out on me. I wouldn't touch the dressers for at least 7 hours. When it's completely dry, the paint is no longer sticky to the touch.

 |
| [PIN IT] |
 |
| [PIN IT] |
I really didn't think I'd like the gloss, but I think it adds the perfect touch that I didn't even know I wanted. Making the drawers have a white outline totally made over our MALMS and the bright blue really gives the neutrals in the room a good pop. I think they balance our new wooden headboard perfectly. We absolutely love the new height and drawer-space. We now have room for all our tshirts and there's also room for stuff! My magazine collection fills my third drawer and even our wii remotes finally have a place to go.
It's really an easy makeover for the IKEA furniture we all know and love.
Let me know if you have a MALM makeover of your own!